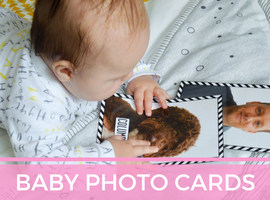
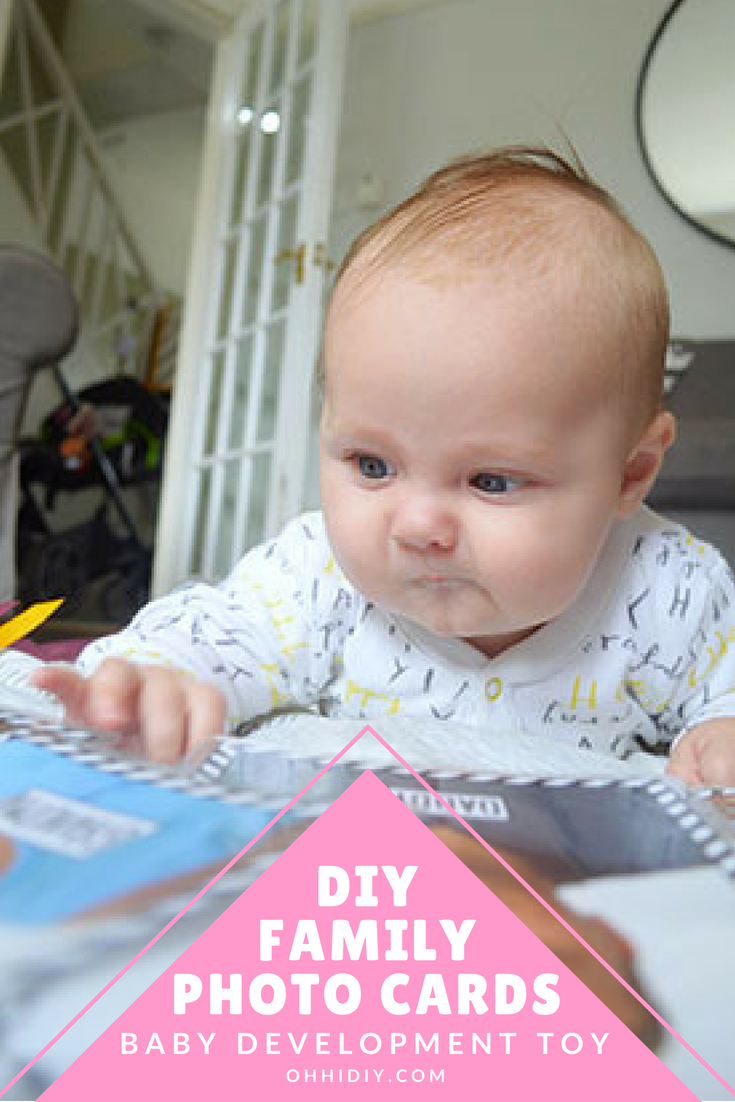
Baby Development Activity: DIY Family Photo Cards
I’m super excited to share with you my first proper DIY tutorial since having Theo! This is a great little project for young children and babies to aid with their cognitive development. Theo is nearly five months old now and he’s much more interested in exploring the world and really playing with his toys now rather than just looking at them. I wanted to make something that would be fun for him whilst also helping his development and learning – everyone wants their child to be a genius right??
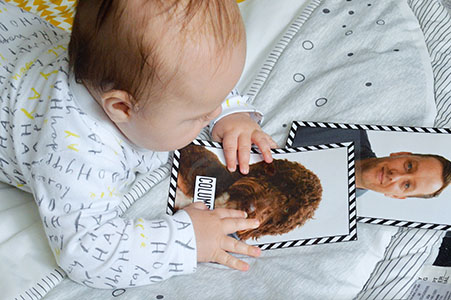
Another great thing about the cards is that they’re perfect for making tummy time entertaining (which can be a struggle in our house!) but they’re also portable and are good for entertaining a baby on your lap on the go!
These cards combine a number of great stimuli for babies:
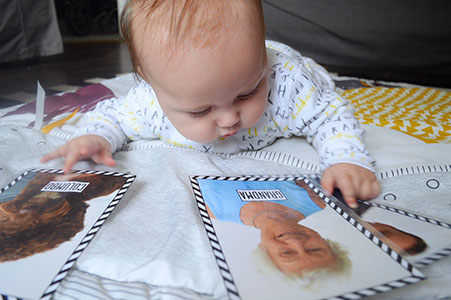
- Faces and pictures are great fun to look at as babies discover the world
- The chevron border in black and white is interesting for their developing eyesight
- The words give baby early exposure to language
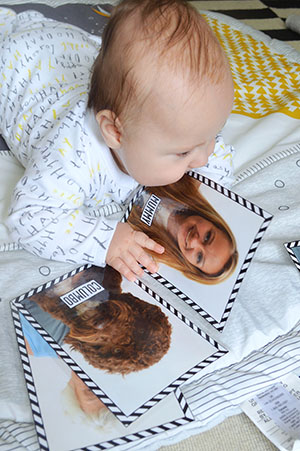
A small study showed that babies were able to recognise photographs of toys from the age of nine months, it’s unclear whether this extends to photographs of faces. In real life, babies usually recognise their mother’s face very quickly and this then extends out to dad’s face and other family members that they see regularly. I have no evidence that babies as young as Theo will be able to recognise the faces on the photo cards yet but I can say that he does have a strong preference for the ‘Mummy’ card and has a much more pronounced reaction when it’s shown to him, reaching out, leaning forward and grabbing at it. Here he is trying to eat my face…
Another reason that I made these cards is that my mum and step-dad live in France and Theo won’t see them as much as our family who are local. I want to make sure that he still knows her and this is a little extra help on top of facetiming regularly!
To make the photocards you need:
- Photographs (regular photos or printed from the computer on regular paper)
- A laminator – you can pick up a cheap one of these for £13.45 from Amazon and they’re surprisingly useful! You could do this without laminating but drooly, grubby fingers would make short work of them! This way they wipe clean.
- Laminating pouches – mine were £1.49 for 10 from my local stationery shop.
I spent ages creating the border and layout in photoshop – you don’t have to do that! I’ve given an easy version and a more advanced tutorial for the photocards below and I’ve included a downloadable version of the border in case you’d like to include it.
Simple Version:
- Print out your photos, ideally you’ll have them all the same size. I printed mine 13 x 18cm including the border. You can also use regular photographs but you’ll need to use the cold setting on the laminator as the heat can damage them.
- If you’re using the chevron border (download here), print out as many as you need and then trim your photos to fit inside it. You can secure them in place with a dot of Pritt Stick for ease.
- You can fit two photos in one pouch, just make sure you leave enough space between them so there’s be a decent sized border around each one otherwise the lamination won’t stay sealed.
- If you want to add the titles in here you can either write them or type them up in a word processing program and print them out then cut them up and place them in the laminating pouch positioned on top of the photos.
- Run the pouch through the laminator.
- Cut around the photo leaving at least half a centimetre border, remember to round off the corners so that there are no sharp edges.
Advanced Version:
- Download the Photoshop template for the Photo Cards here. I’m assuming if you’re going down this route then you know how to use Photoshop so I’m not going to give step by step instructions here.
- Paste in your photos and resize/crop so they fit in the frame.
- Amend the text.
- Save as jpg.
- Print 13 x 18cm.
- Cut out and place in laminating pouch, as above make sure you leave at least 1cm gap between them.
- Run through the laminator.
- Cut round the photos leaving a 0.5cm border, make sure to round off the corners and check for sharp edges.
When he’s a bit older we’ll be able to make up games to play with the cards and you could also use wipeable markers on the blank side. They really do have a lot of scope for different kinds of play as your child grows.
I hope you enjoyed this tutorial for baby development family photo cards, if you make your own I’d love to see photos, you can tag me on Instagram @ohhidiy.
Do you have favourite games and activities that you do at home with your little one? Whatare you favourites? Let me know!


You May Also Like
Mumba Bra Review – An Innovative New Nursing Bra
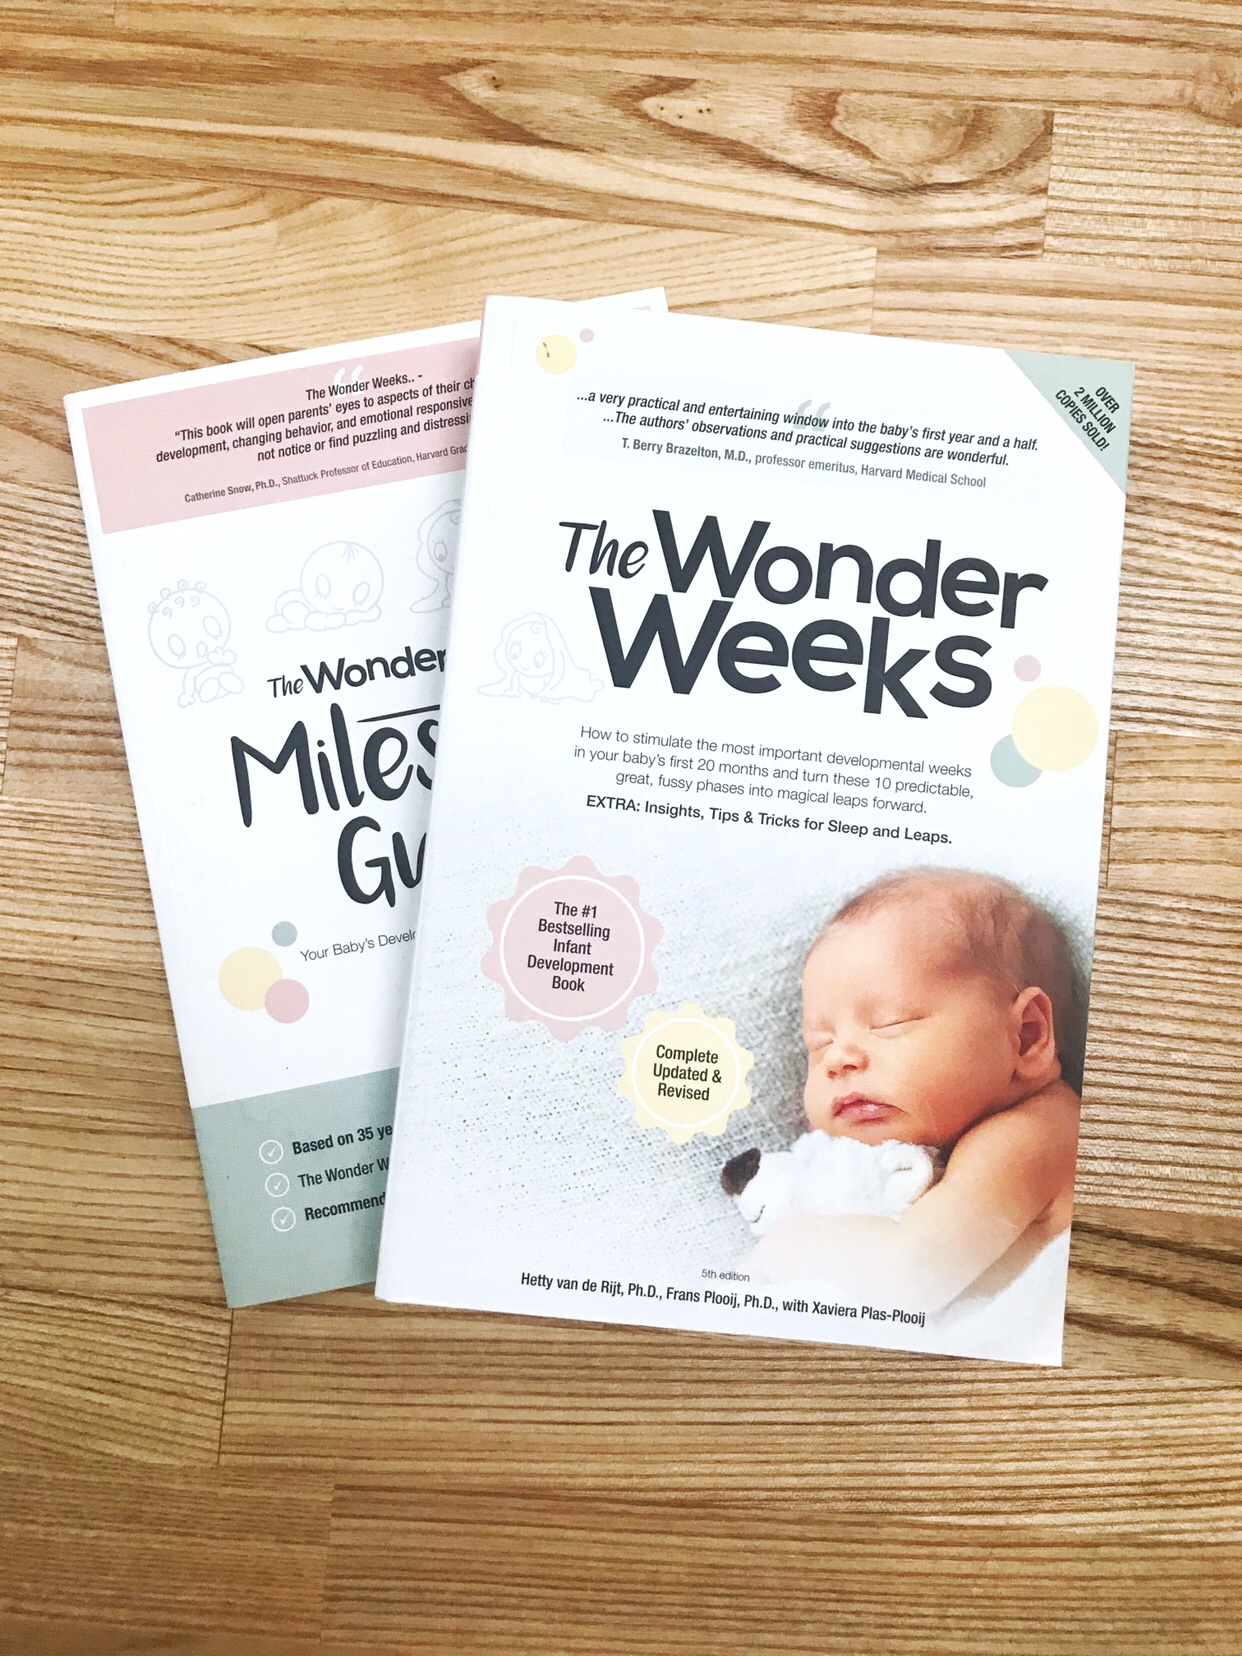
New Mum Reading List – My Essential Books for New Parents