

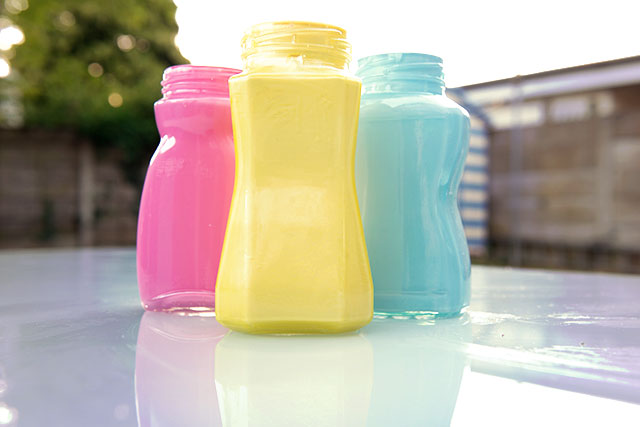
DIY Milk Glass – Upcycling Coffee Jars with Paint
Since Christmas I’ve continued to stockpile coffee jars waiting for the perfect upcycling project and this definitely fits the bill! Turning boring old glass jars into pretty pastel coloured pots is very satsifying and messy enough to be really fun too!
 Milk glass has been around for a long time and has become very popular with vintage lovers, becoming quite the collectors’ item. Whilst some gems can be picked up in charity shops and craft markets, it is possible to create the milk glass effect yourself in a number of different ways. The first way I’ve demonstrated in this tutorial (with more tutorials to follow soon).
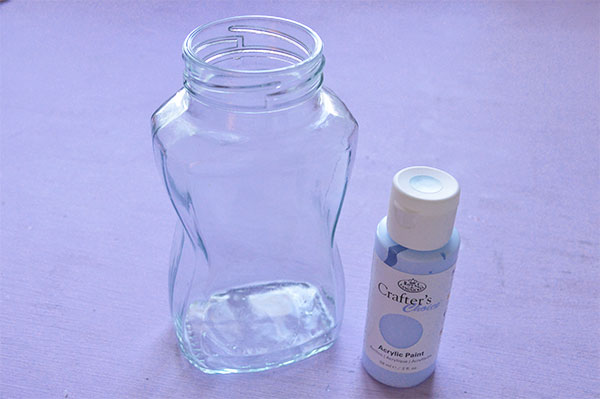
You need:
Glass Jar
Acrylic paint (59ml)
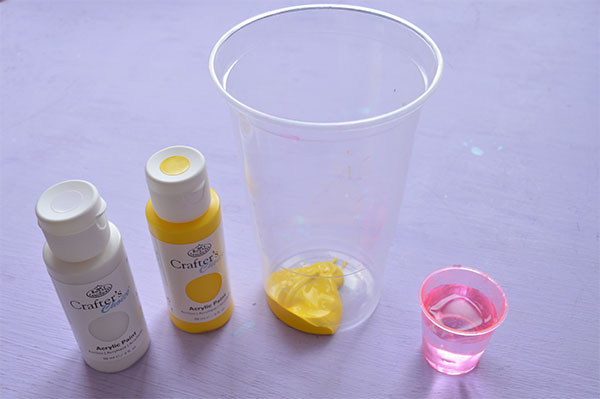
Water
Plastic Cup
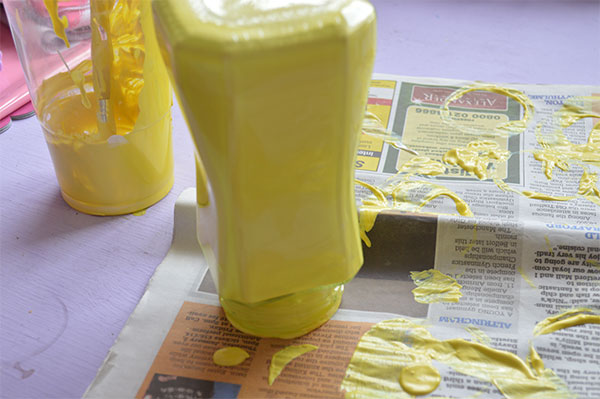
1. Mix 59ml of acrylic paint with 25ml of water and mix. The acrylic paint is too thick to swirl round the jar without diluting it with water.
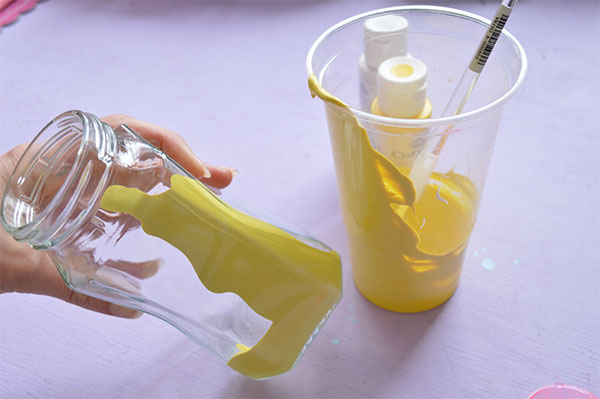
2. Now pour the paint into the coffee jar and gently swirl around starting from the bottom and working up the sides until the inside of the jar is fully coated.
 3. Turn the jar upside down and leave to dry. You’ll need to keep moving the jar after an hour or so to make sure that the paint doesn’t dry with the paper stuck to it or pool around the edges.
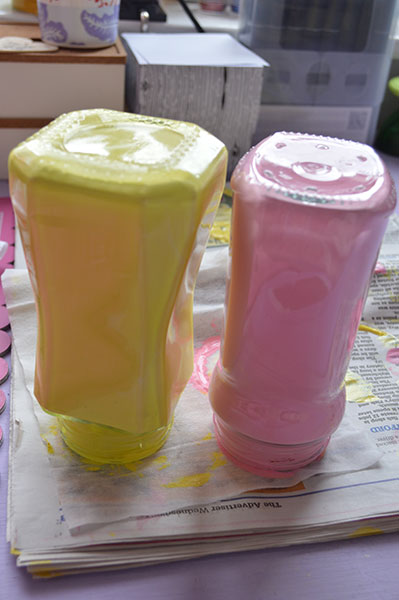
4. Leave upside down overnight for the paint to set. Then turn upright – it took about a week for the paint to fully dry on the inside of my jars so don’t put anything in them until you’re sure the paint is properly dry.
These jars are lovely for storing kitchen utensils or cutlery, they can store pens and pencils and any other bits and bobs you can think of! You won’t be able to put water or flowers directly inside the jars but a good tip is to rest a plastic cup filled with water inside the neck of the jar and use that to hold cut flowers instead 🙂
You can also get interesting effects by using pearlescent paint (which I did by accident on the yellow jar!) plus the great thing about making your own milk glass is that you can make the jars whatever colour you want, be it really pale pastels, bright and bold rainbows, monochrome or metallic. You could even try mixing colours in the jar for a marbled effect.

Hope you like this tutorial, if you do and would like to see more please follow me on Bloglovin and feel free to hit the share buttons below to tell your friends!


2 Comments
Jess @ Let's Do Something Crafty
Really sweet idea! x
Catherine
Thanks Jess! 🙂 x