
DIY Spring Wreath with Tissue Paper Roses
Before I start, I’m going to apologise for the state of my nails in these picture, I had an unfortunate incident of nearly tearing my little finger nail off so couldn’t get my acrylics filled in – dark times.
Anyhoo! It may still be rainy and cold but I’ve seen the sun a couple of times and now it’s officially spring! I’ve updated my wardrobe accordingly and now it’s time for a bit of interior design.
You need:
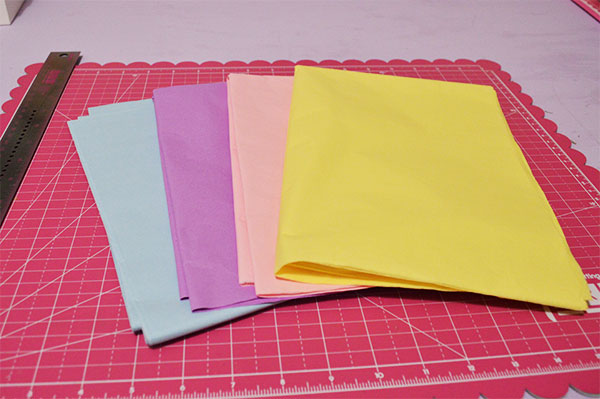
Tissue paper is various colours
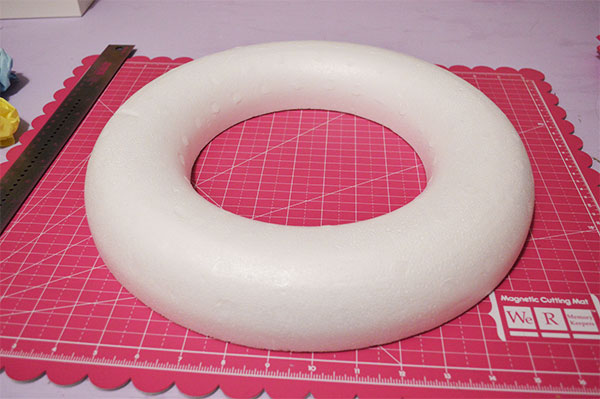
A polystyrene wreath
Hot glue gun
Scissors
Ribbon
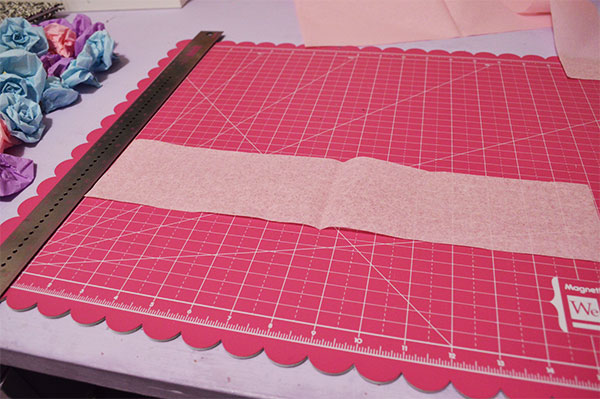
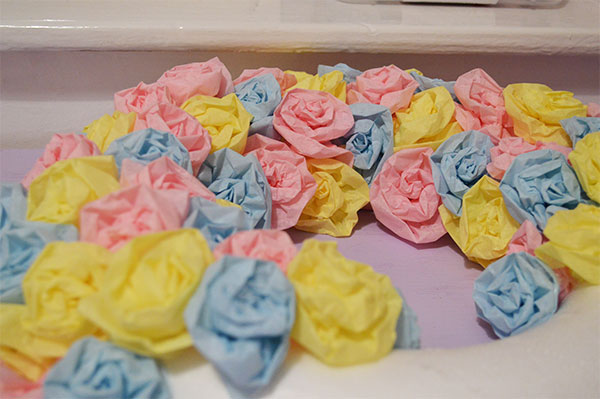
1. The flowers are made in the same way as the fabric flowers in my Hillary’s Country Crafts Competition entry. Cut strips of tissue, and fold loosely in half.
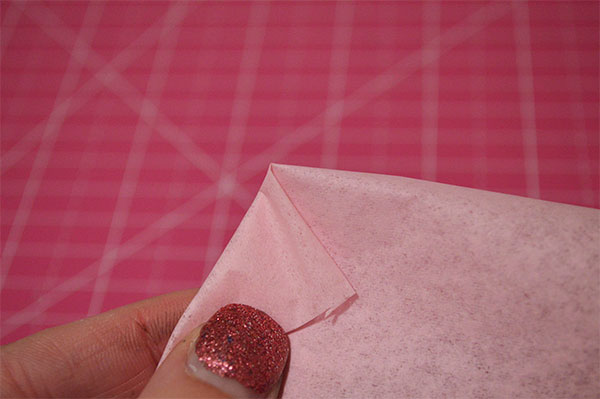
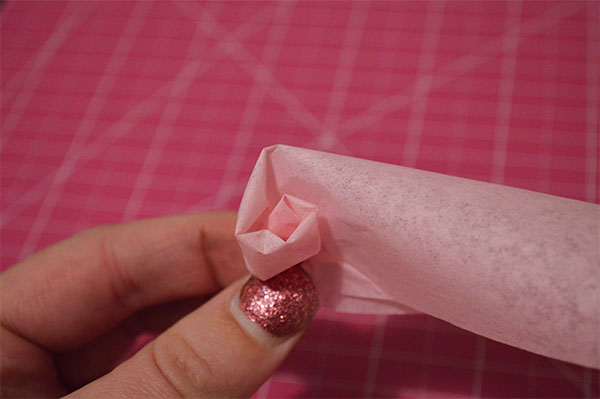
2. Fold one corner in diagonally and start to roll the tissue paper with the point of the fold in the centre to form the bud.
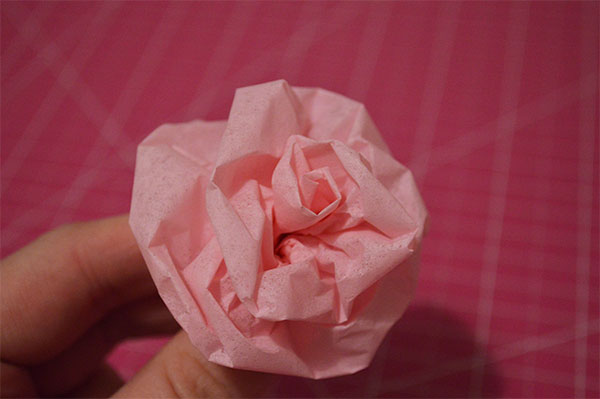
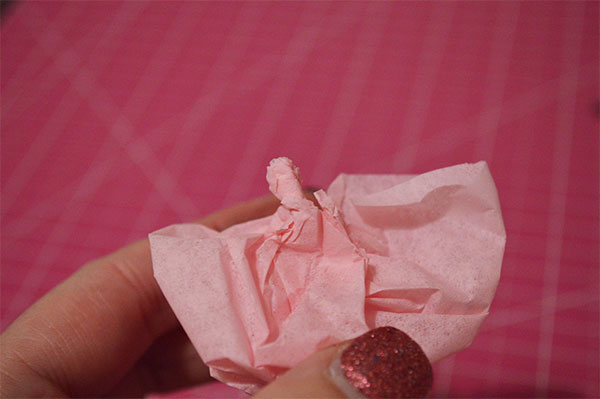
3. Gather the tissue paper as you go along so that the rose petals puff out, twist the bottom of the rose into a stem – you don’t need to use glue for this one like you do with fabric flowers as this is enough to hold the paper in place.
4. Repeat for enough flowers to completely cover the wreath, I used two sheets of tissue paper per colour.
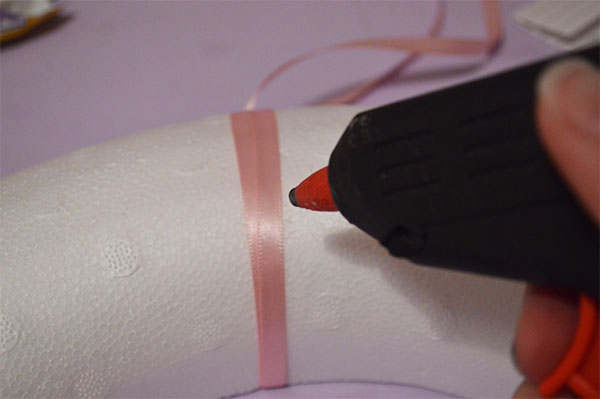
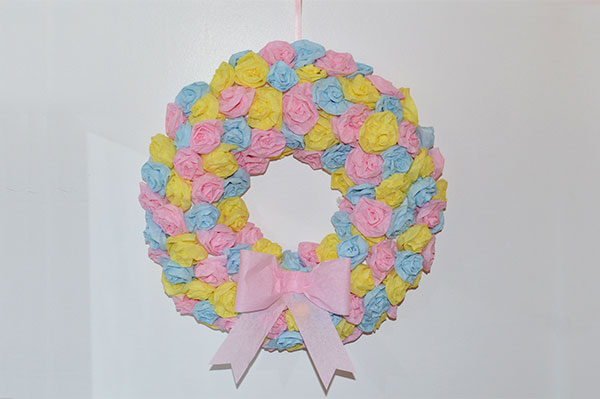
5. Wrap ribbon around the top of the wreath and knot securely leaving long enough tails to hang the wreath with.

6. Now use the hot glue gun to begin to place the roses, be careful to make sure you arrange the colours evenly. You can use other glues but hot glue dries quicker so it’s easier to see where the gaps are. Start from one spot and work your way around the wreath.

7. Once I’d adhered all the tissue paper roses I made a bow out of pink tissue paper and stuck it to the bottom for a finishing touch.
Now the wreath is ready to hang! By changing the colour of tissue paper there’s no reason why you couldn’t make a wreath for autumn with oranges and browns or for christmas with greens and reds!

You May Also Like

Five Craft Room Essentials You Might Not Expect

DIY Shed Makeover – Beach Hut Chic