
Free Midi Skirt Sewing Pattern
I’m so glad that midi skirts have come back in fashion, they’re elegant and comfortable and are appropriate for most situations. They’re also relatively straight forward to sew so I thought that a free midi skirt sewing pattern would be a great download to share with you.
You need:
Printer
12 sheets of A4 Paper
Scissors
Pins
Tailor’s chalk
3m of your chosen fabric
Iron on interfacing
Sewing machine
7″ zip
Use this link to download the free midi skirt sewing pattern. The sewing pattern includes a half inch seam allowance that isn’t shown. The pattern is a size 10 but I’ve included some tips on scaling the pattern up at the end of the post.
Print out the pattern and stick it together. The pattern has arrows indication where pages join, the black dots indicate the underside edge of the overlapped sheets. You can then either trace over the pattern onto tracing paper (in the past I’ve used greaseproof paper for this as a substitute) or cut the pattern from the constructed sheets of paper.
Now cut out your fabric using the pattern. For the waistband you also need to cut 1 from the interfacing.
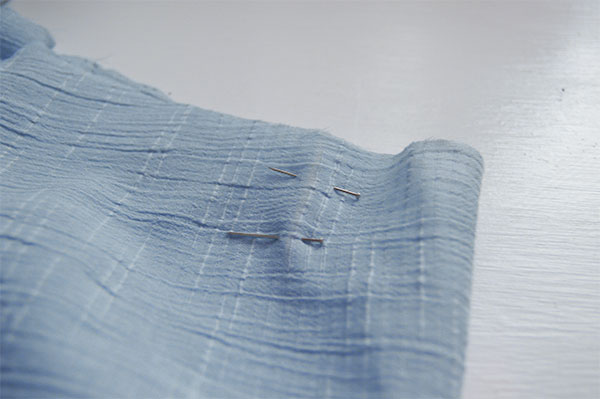
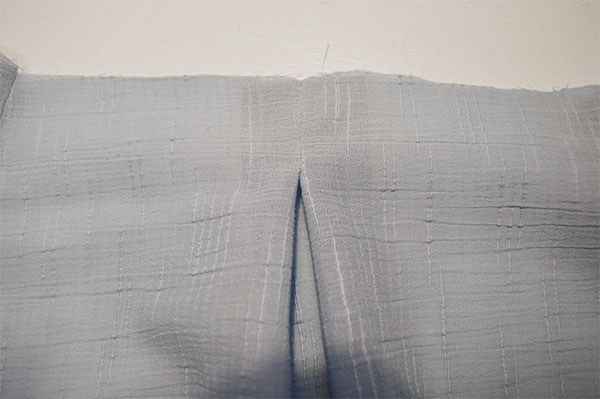
Begin by marking the pleats in tailor’s chalk.
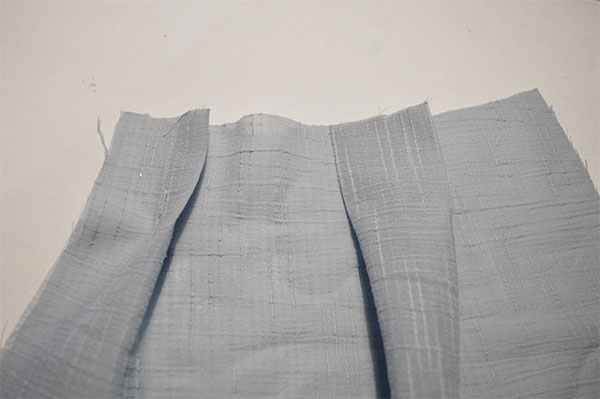
Press the pleats as shown below:
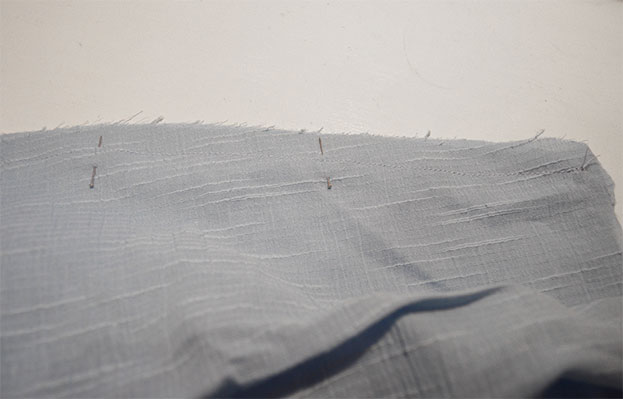
Match right sides together and sew along the pleat lines on the skirt back and front.

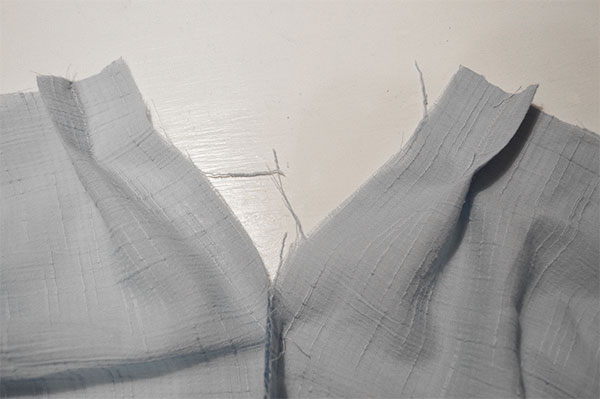
With right sides together sew the front to each back section at the side seams.
Sew the back seam leaving 6″ open at the top. If leaving a section unsewn I always mark it with two pins so it’s easy to remember.

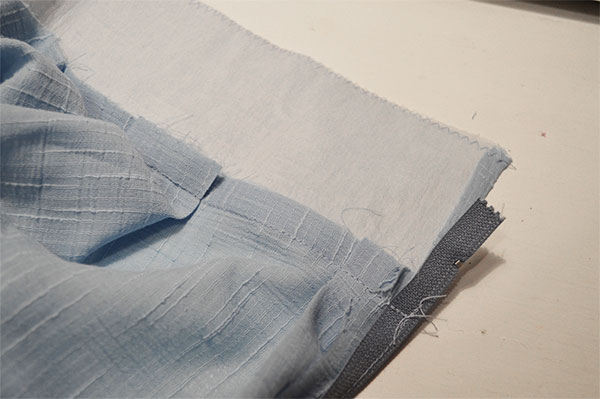
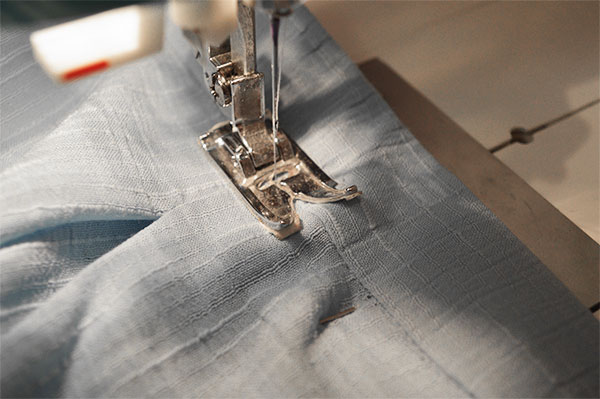
Now attach the zip match the centre of the zip to the centre back seamline – the edge of the zip will not meet the edge of the fabric

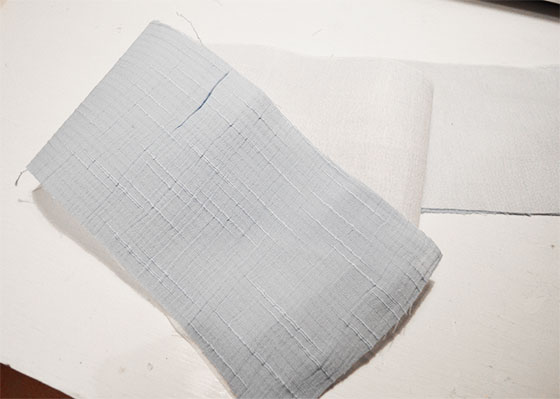
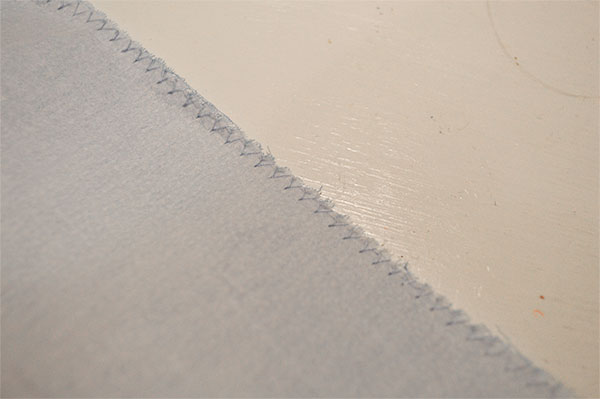
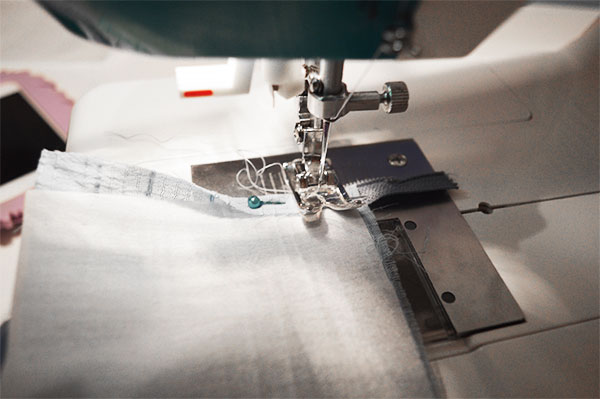
Iron the interfacing to the wrong side of the waistband fabric. At the point I sewed one edge of the waistband with a zigzag stitch to prevent it from fraying.
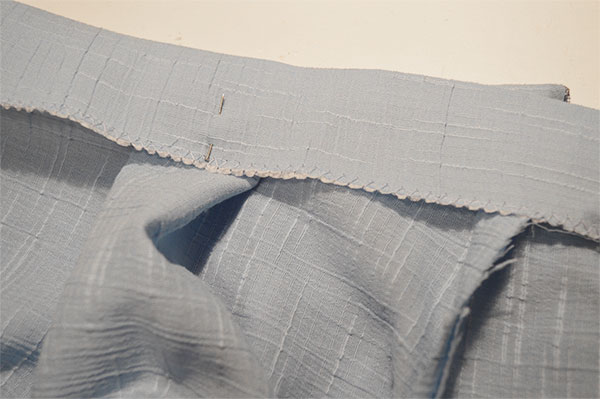
Fold the seam allowances of the waistband in and with right sides together stitch waistband to the waistline of the skirt.
Fold the waistline over (wrong sides together) so that the edge of the waistband overlaps the sewn edge by half an inch – folding the already sewn seam up under the waistband so that it is enclosed and pin.
With the right side facing upward sew along the seam line – this is called sewing “in the ditch” and is one of my favourite sewing techniques.
Sew the ends of the waistband closed encasing the ends of the zip.
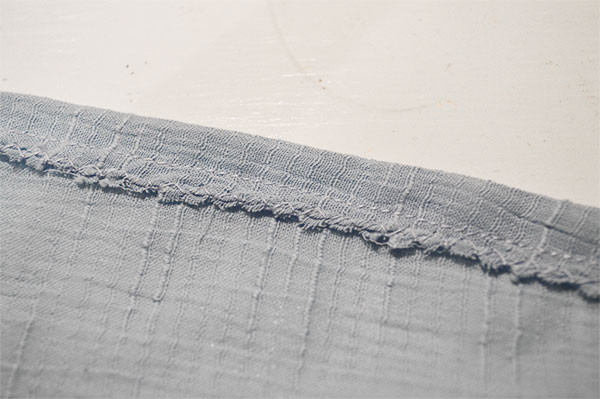
I used a zigzag stitch to prevent the hemline from fraying the folded the hem up half an inch and stitched into place.
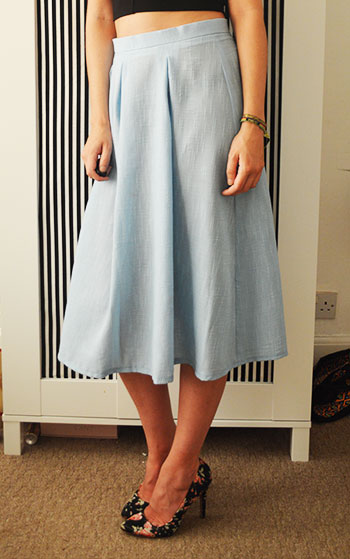
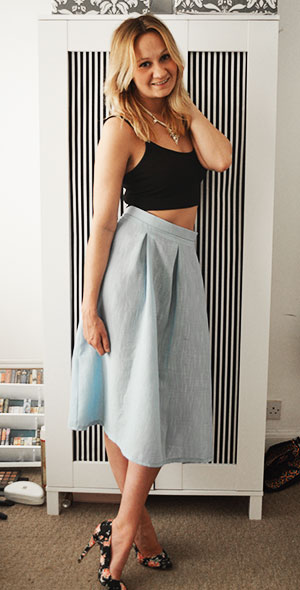
Your skirt is now all done and ready to wear! As I mentioned above, this pattern was made to fit me as a size 10 but could be scaled up. The pattern has a 28″ waist, what I’d suggest to scale up or down to your waist side is the measure your waist, divide the difference by 4 and then add this into the pattern between the pleats. Then times this by 2 and add this additional length to the hemline.
For example: If you are a 32″ waist, you need an additional 4″ in the pattern. On the front section of the midi skirt pattern add an inch in between the left pleat and the centre pleat and another inch between the right pleat and the centre pleat. Then on the back add 1″ onto each of the back sections in between the pleats in the same way.
I think the best way to do this would be to cut the front pattern evenly between the pleats and then place it on the fabric before you cut – this will allow you to angle it so you can add the additional length into the hem.
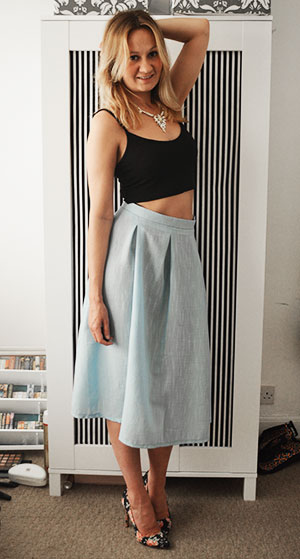
Midi skirt shown here with Topshop Strappy Seam Bralet, ASOS floral heels and Primark necklace.Hope you like the pattern, I’d love to know how you get on with it!


3 Comments
https://www.youtube.com/watch?v=vjvFOG7ZyFY&index=15&list=PLGYb3eTcr5F351zzdh2ZOfzgFyc6XWC5S|https://youtu.be/vjvFOG7ZyFY?list=PLGYb3eTcr5F351zzdh2ZOfzgFyc6XWC5S|https://www.youtube.com/watch?v=vjvFOG7ZyFY&index=15&list=PLGYb3eTcr5F351zzdh
Does your site have a contact page? I’m having problems locating it
but, I’d like to shoot you an email. I’ve got some suggestions for your blog
you might be interested in hearing. Either way, great website and I look forward to seeing it grow over time.
Julie Nilssen
Hello
When you say that the pattern is a size ten, is that a US or UK size? Thanks 🙂
Catherine
Hi Julie, It’s a UK size 10. x