Glitter and Washi Tape Decorative Pegs
Having recently converted our box room into a craft room (I can’t really call it a sewing room anymore as I do so much other stuff in here), I’m still looking for cute ways to decorate it. This make was done with items I already had in the house, I didn’t need to buy anything new at all which makes a nice change!
This idea is definitely not a new one so I can’t take any credit but it’s so effective and useful that it’s worth sharing!
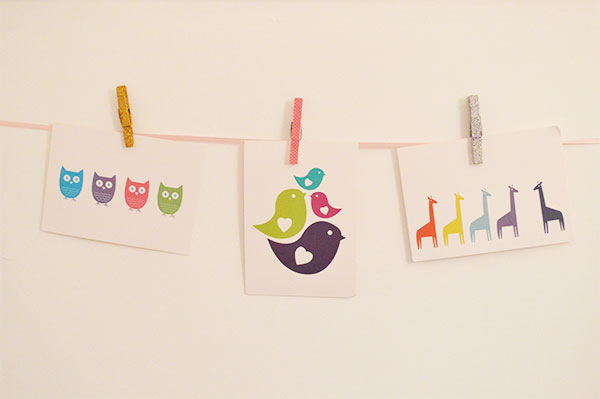
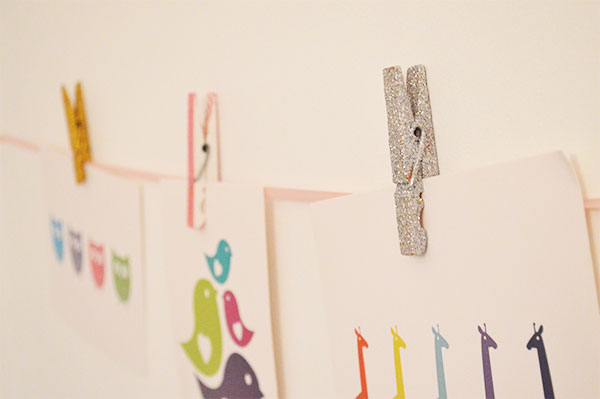
I got these postcards from Ikea a while ago in a pack of five, only two made it into a frame and these had been lying round since then without a purpose. Whilst I’ve used this technique for displaying artwork it could be used just as easily for birthday or Christmas cards, phone messages, reminders or even to make bunting.
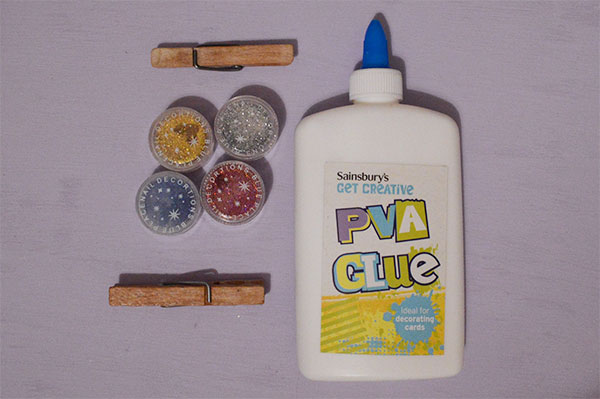
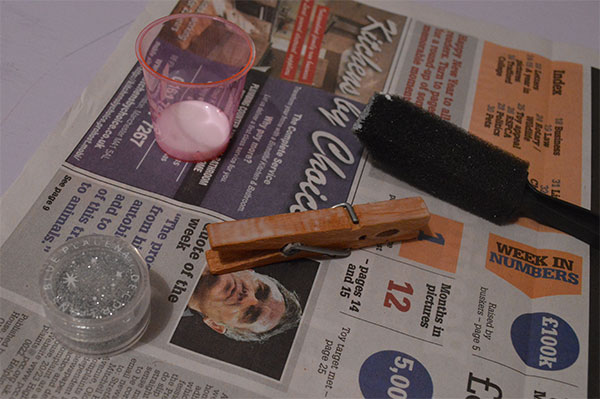
To start with I grabbed some pegs out of the peg bag in the kitchen, I used two wooden pegs and a white plastic peg. Other items required were PVA glue, glitter, washi tape and some clear topcoat spray plus some newspaper to protect the table.
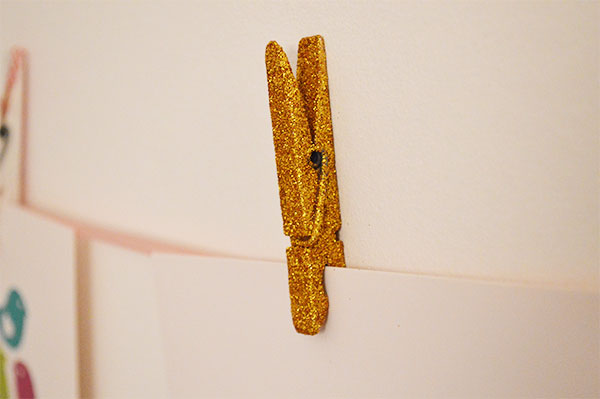
To make the glitter pegs:
1. Spread a layer of glue over the top of the peg. I found that if I held the peg I could spread the glue over the top and the upper half of the sides at once.
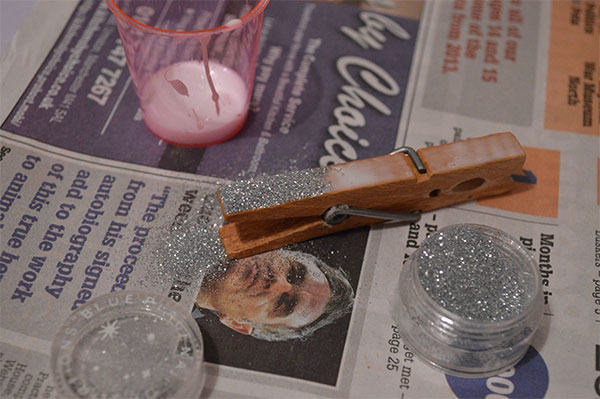
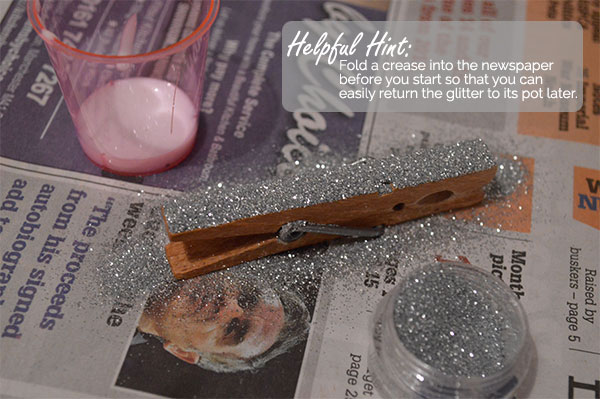
2. Sprinkle glitter all over the glue making sure that all the wood is covered. Leave to dry and then shake the excess glitter off the peg. Now glue the other side of the peg and apply the glitter and again leave to dry.
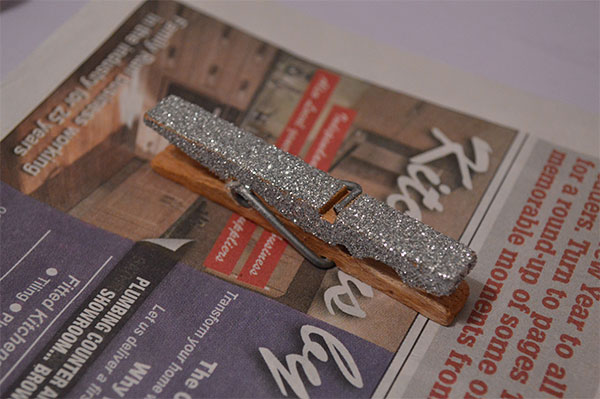
3. Touch up any areas that you might have missed and then seal with a top coat spray – this will secure the glitter in place so it doesn’t come off onto your fingers later. I used Rustoleum Crystal Clear Top Coat.
To make the washi tape pegs:
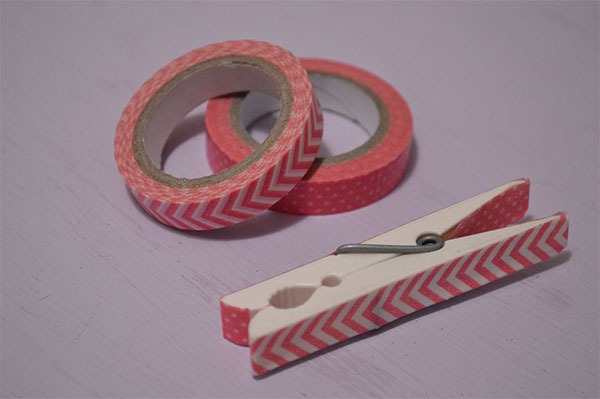
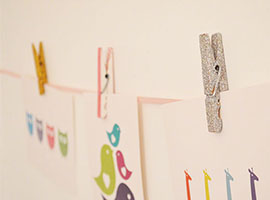
1. This one is super simple! Select your washi tape, mine was exactly the right size for the width of the peg and stick it from the inside of the top of the peg around one side and under the curved bottom edge. I used a different pattern of washi tape for each side of the peg.
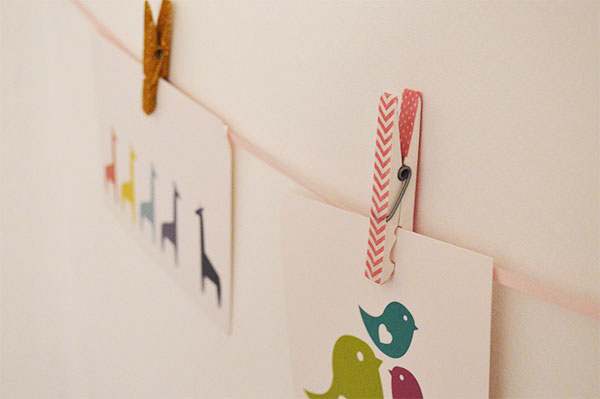
The pegs are now blinged and ready to hang – I used a scrap of ribbon from my ‘finishing touches’ box but the beauty of pegs is that you can put them pretty much anywhere! Why not go one step further and team the pegs with some covered greyboard to make a pretty clipboard for shopping lists or note taking?

You May Also Like
DIY Inspiration: Liberty and a Quick Tip for Personalised Ceramics