
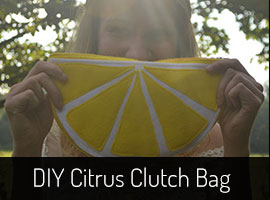
Orange & Lemon DIY Clutch Bag Pattern
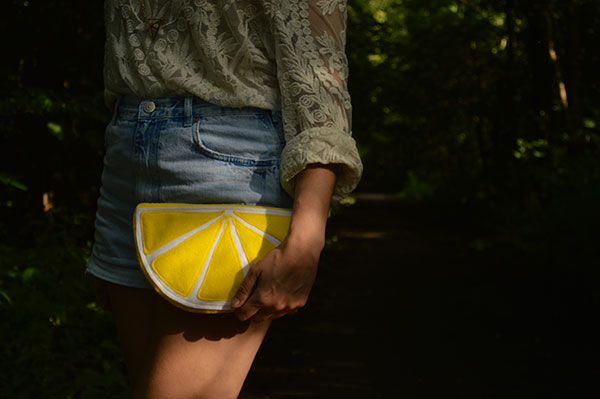
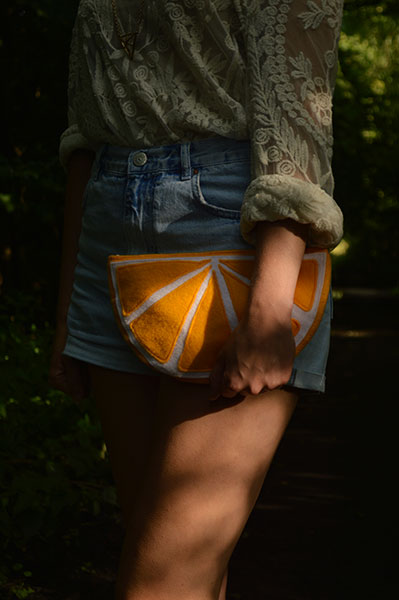
I few weeks ago I posted about how I’m loving fruit prints at the moment, it’s such a cute trend and quite 80s inspired which always wins style points with me! This clutch bag was meant to be a lemon but I didn’t have enough yellow felt, in the end though I love it a little more now that it’s both a lemon and an orange, two for the price of one!
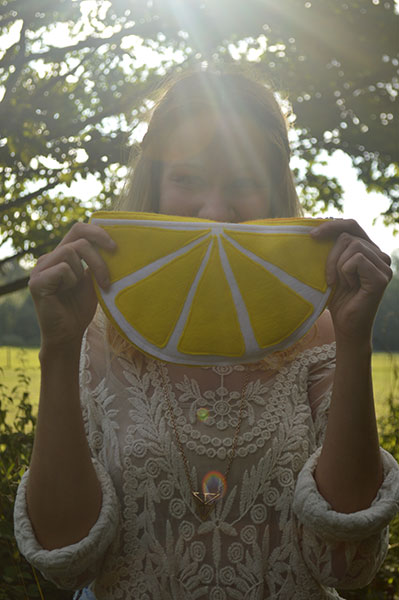
I made the clutch bag large enough to fit all the essentials – iPhone, keys, small purse, bits of makeup. Unfortunately, it’s not big enough to hold spare shoes (an essential for a night out in my eyes) but you can always take a seperate little tote bag and pop it in the club’s cloakroom for that!
To make the DIY clutch bag you need;
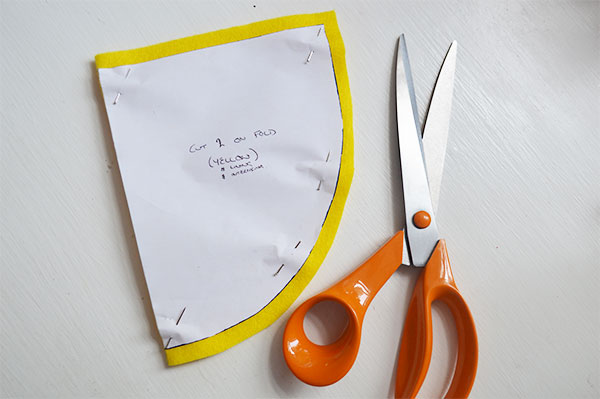
The DIY clutch bag pattern that you can download here
4 A4 pieces of felt (mine are from Hobbycraft and were 25p each)
Iron on interfacing
Scissors
Pins
30cm/12″ zip
1. Cut out your pattern pieces from the felt and interfacing.
2. Pin one of the white sections in the middle of one of the large yellow sections and pin into place.
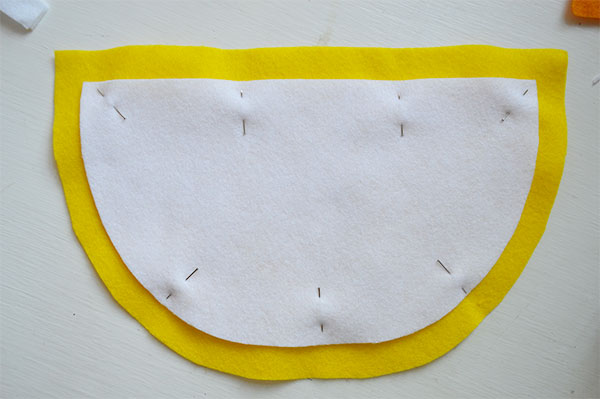
3. Stitch about 1/2cm in from the edge of the white.
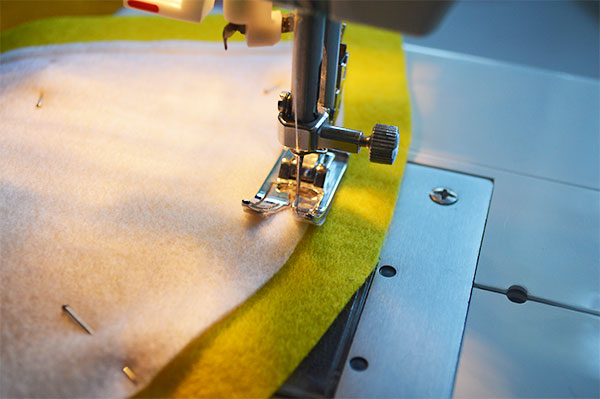
4. Arrange the segment pieces equally and pin. Stitch these in the same way.
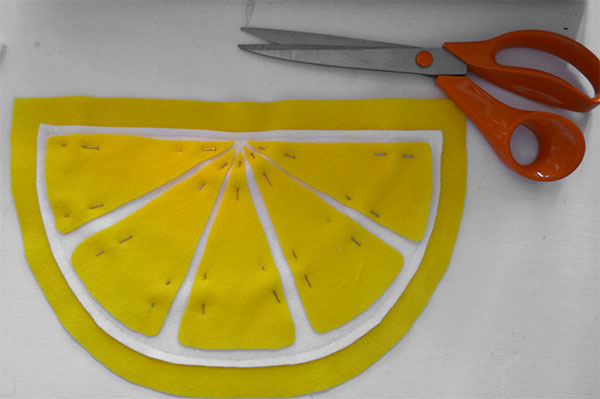
5. Repeat for the other side of the bag – it’s up to you whether you choose to do an entire lemon/an entire orange or a bit of both like me!
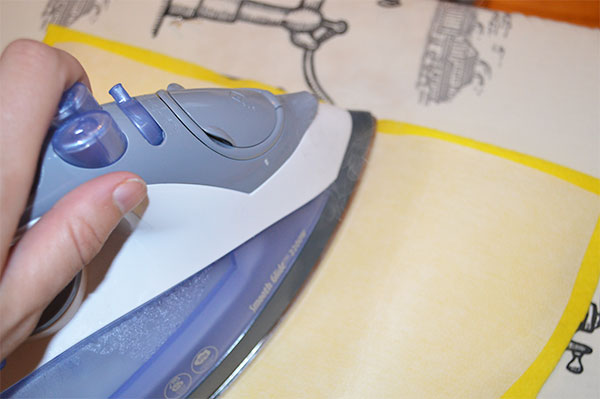
6.Position the interfacing in the centre of the wrong side of each piece and iron into place. This will help your bag to keep its shape when it has stuff inside.
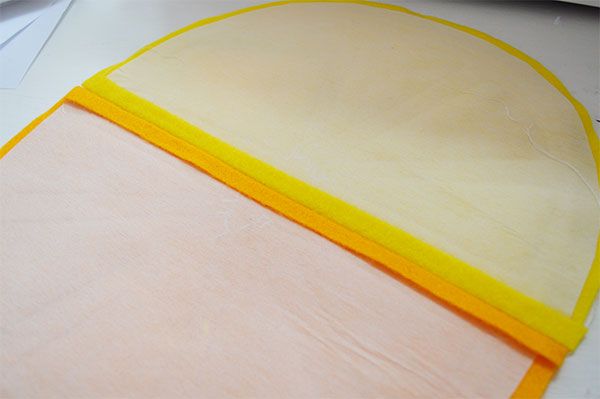
7. With the right sides of the bag together, leaving a 1cm seam allowance and using the longest stitch on your machine, stitch along the top edge – this will make it easier to position your zipper.

8. Open out the two sides and lay flat with wrong sides up and iron the seam open.
9. Pin the zipper into place face down with the teeth of the zip along the centre seam line.
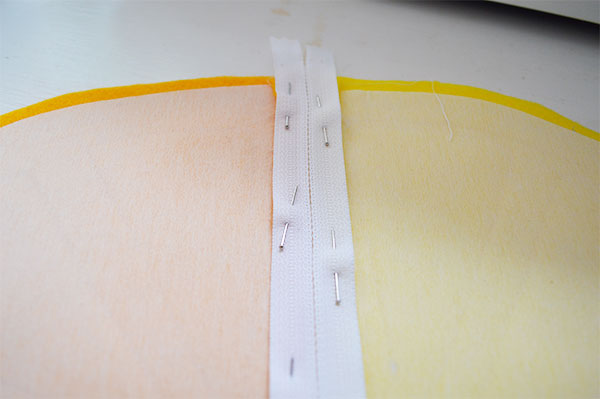
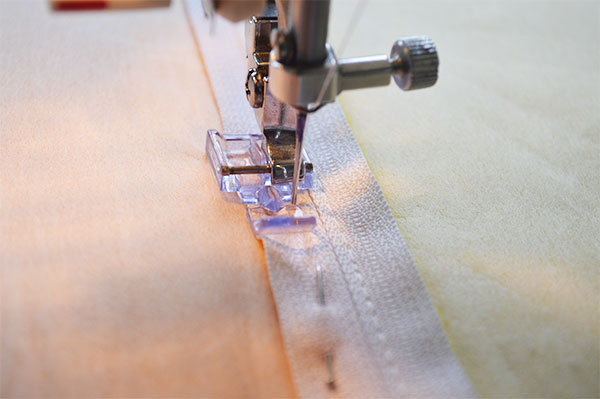
10. Sew the zip with your zipper foot.
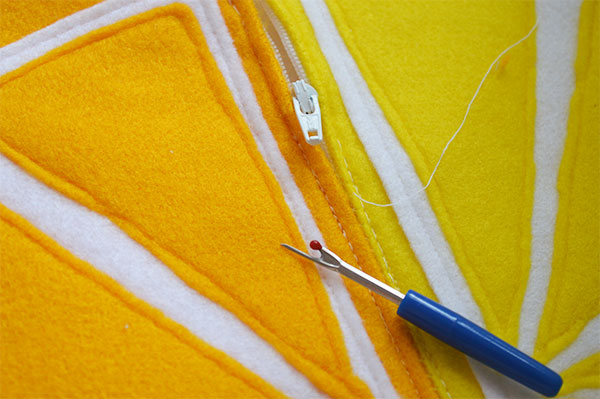
11. Undo the stitches you made in step 7, your zip should now be perfectly central in between the two sides!
12. Open the zip half way and then refold the bag with right sides together so that the edges of the bag are aligned and pin.
13. From the top edge of one side leaving a 1cm seam and sewing over the zipper tapes sew around the edge of the semi circle finishing at the top of the other side.
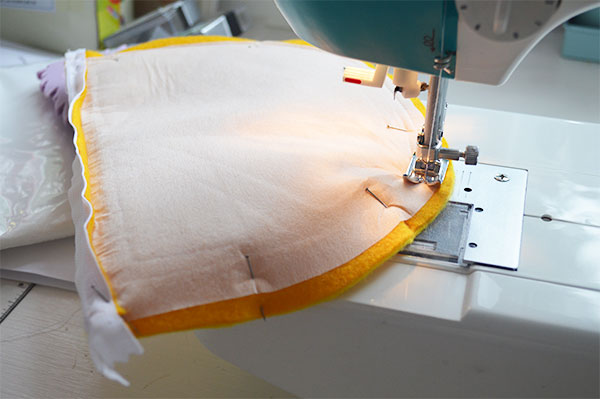
14. Clip the curve of the seam with scissors – this will make a better shape and will stop the bag from puckering once turned the right way out.Be careful not to cut the line of stitches though.
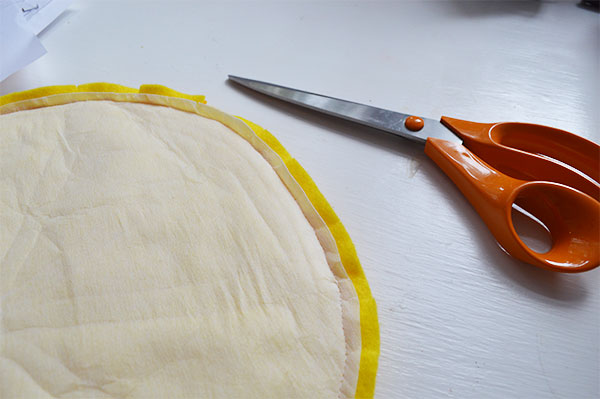
15. Cut any excess fabric from the corners, turn the bag the right way round and press with the iron.


3 Comments
Julie
Love love love this bag, so cute. I keep seeing all these fun bags in magazines and thinking about making one myself but somehow I’ve never quite got round to it!
I planned to make myself red lips, fruit and now I’ve seen cereal packet bags. So much inspiration I can’t decide so I end up not doing anything! See how great this came out is helping – must stop procrastinating and just make something!
Lamide
I lovee!! Okay i gotta start doing more too!!. Such an inspiration. Thank youu!!
Catherine
Ah thank you! Let me know how you get on! X