
Things To Do With Doilies #2: DIY Jar Labels
I’m constantly on the look out for storage for my craft room, I have a lot of stuff crammed in to a little space but storage isn’t always pretty and as part of my ‘things to do with doilies’ series I found a cute, shabby chic solution.
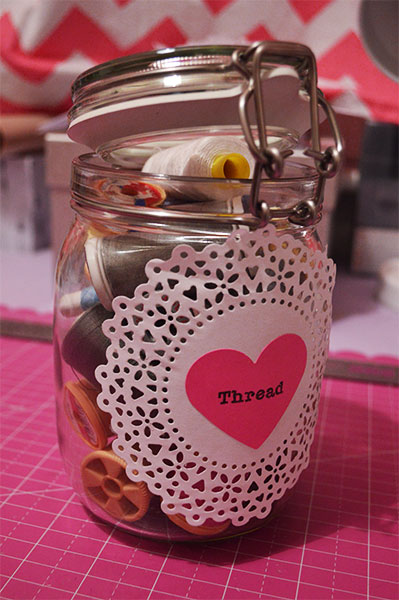
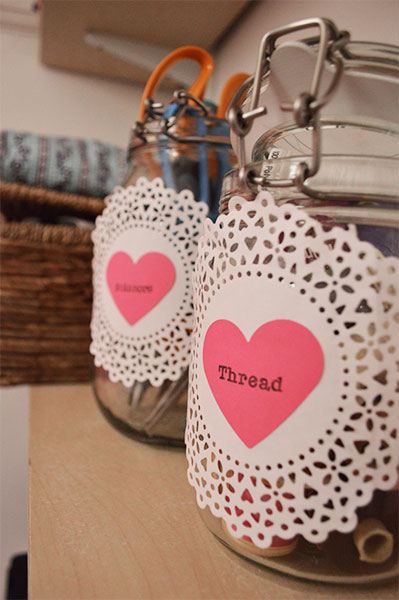
Clear glass jars are great for storage as you can see exactly what you’ve got and they’re pretty cheap. In the past I’ve picked them up from vintage markets for £1 or Ikea have a whole range of sizes starting from a similar price point – I think the jars pictured here were £3 each.
You will need:
A jar
A doily (Cut using Xcut Vintage Notes Doily Die)
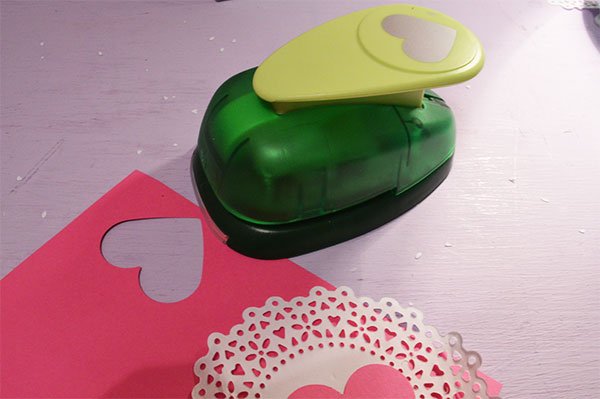
Heart Punch (mine’s from Hobbycraft)
Coloured card
Glue
Alphabet stamps or a pen
Difficulty: Super simple
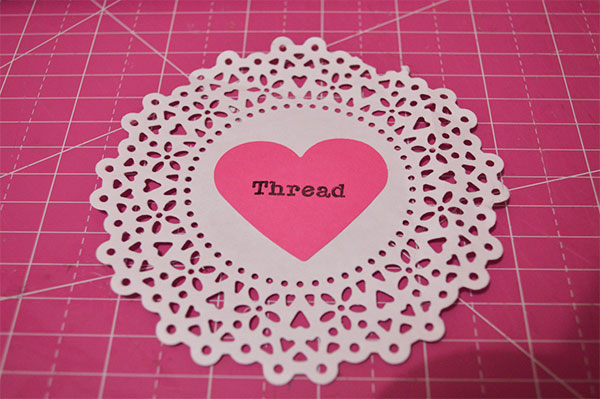
1. Punch a heart from the coloured card.
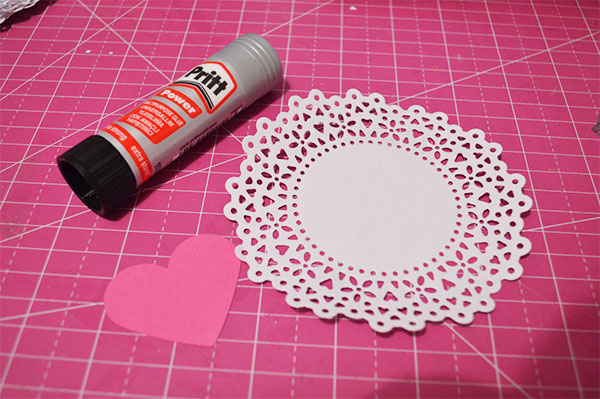
2. Glue the heart to the centre of the doily.
3. Stamp or write your wording in the centre of the heart. (I did this with the free stamps from Papercraft Inspirations that I used in the Bunting Card Tutorial).
4. Glue the underside of the doily and wrap it into place round the jar. Hold for a few seconds so the glue holds. I used Pritt Power and it stuck really well although it probably isn’t made for glass…
You can change up the colour of the labels or the punched shape in the centre to mix it up a bit and fit in with existing decor and colour schemes. They’re so quick to make and I just love how cute the jars look on my shelf! Next stop is labelling up the kitchen!
You May Also Like
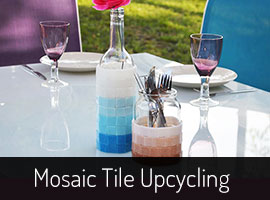
DIY Upcycling Wine Bottles & Coffee Jars – Topps Tiles Mosaic Challenge
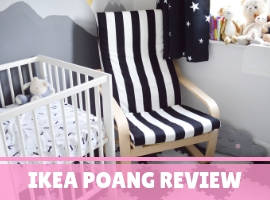
Ikea Poang Chair Review – Our New Nursing Chair
