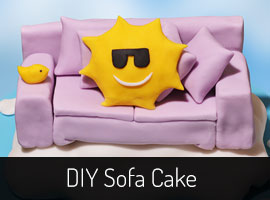
DIY Sofa Cake for Loaf’s #BakeItToWinIt Competition
I’m not sure if I’ve mentioned this before but we’ve got a boys’ room in our house, dedicated to films and playstation! My boyfriend originally set it up with some red leather recliners but they’re starting to show wear and tear and could do with replacing. He’s got his heart set on replacing them with a sofa but times are tight so when I saw the Loaf.com Bake It to Win It Competition advertised on Facebook I knew I had to give it a go – it’d make an awesome early Valentines’ present right?
The competition rules are simple – bake a replica of any sofa or bed frame in their range and the best one gets to win that sofa. After letting my boyfriend in on my plan (and much deliberation on his part choosing which sofa I made – they’re all so nice!) I set to work.
First I covered the cake board, it’s important to do this at least 24 hours ahead of starting to decorate so that it has time to harden. I picked a nice sky blue because the sofa we chose is called ‘Cloud’ so I thought I’d theme the cake on the name.
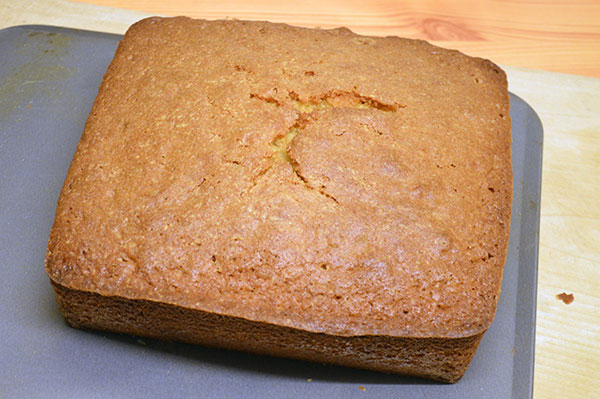
To make the sofa I made a vanilla sponge from the awesome Juliet Sear’s The Cake Decorating Bible. This is a great, solid cake that’s easy to carve up to form a model. I baked it in a square tin as I needed rectangular pieces and a circular cake would have had a lot of wastage.
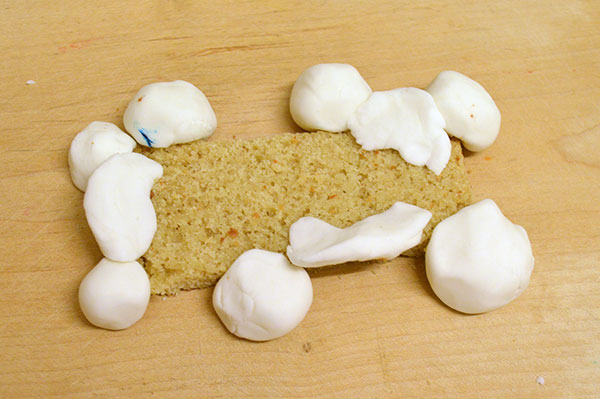
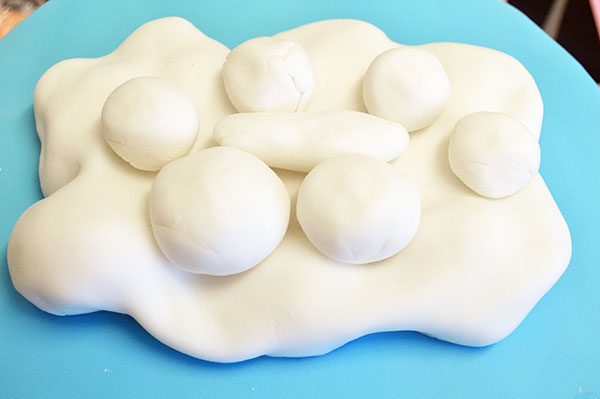
Next I used a section of cake and some balls of sugarpaste to begin to form the cloud and then thinly rolled out more icing to cover – I did this on the board and then transferred it to the cake but in hindsight doing it straight on the cake would have been fine!
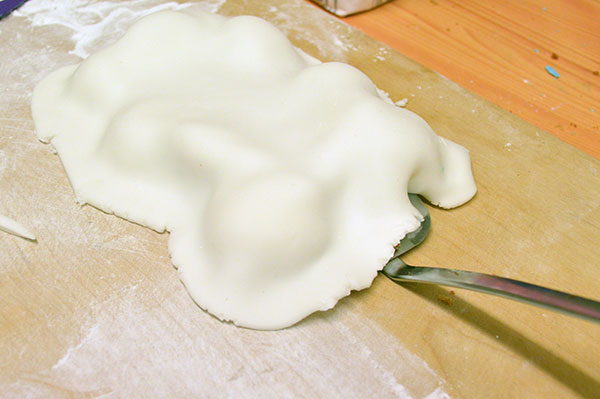
I carefully trimmed the excess and tucked the edges underneath the cloud to give it a firm edge.
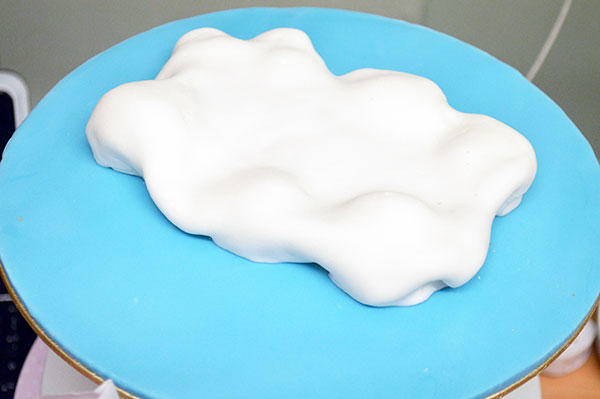
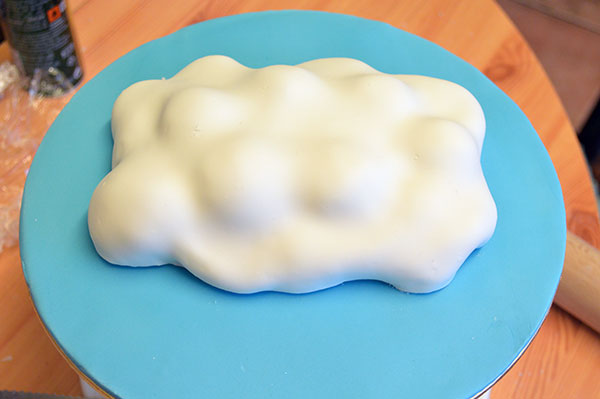
After this first effort I decided that I wanted the cloud to be a bit puffier and built an additional layer on top in the same manner making sure that the centre of the cloud was flat enough to take the sofa securely and evenly.
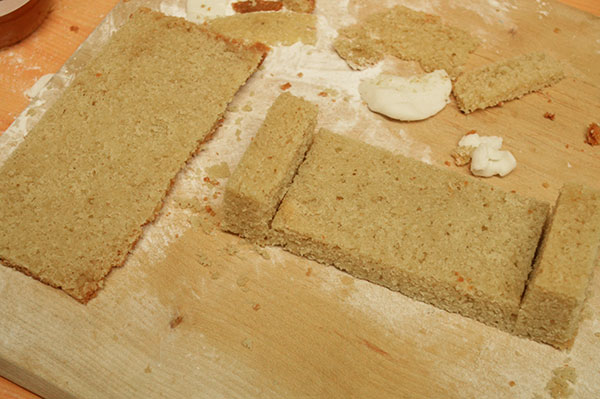
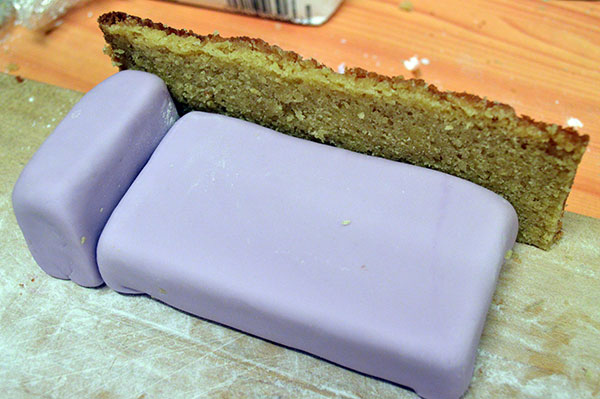
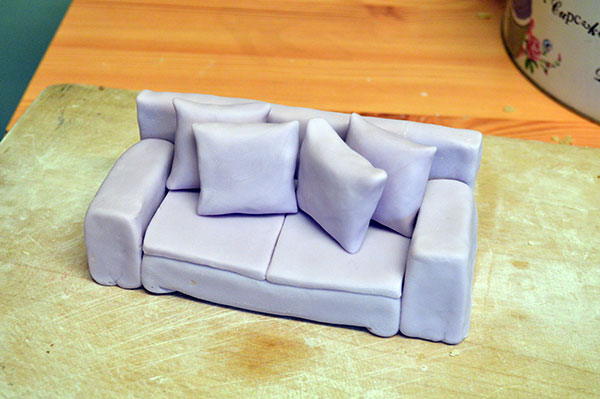
To create the sofa I cut one long rectangle of cake for the base, two smaller rectangles for the arms and a thin rectangle for the sofa back (I used the crust of the cake for this to give it extra strength). Starting with the base I covered each section individually with lavendar coloured icing and stuck them together. Again I assembled this on the board and moved it across with the aid of a palette knife – it’s up to you if you want to put it straight onto the cake but this was they best way for me.
Next I shaped the throw cushions out of icing and left them to dry before arranging on the cake.
To complete the cloud theme I also made a sun from yellow sugarpaste and put him on the sofa hanging out with the little Loaf logo bird!
Then I made smaller clouds to scatter around the rest of the board to fill up the sky. I made a medium sized cloud to place at the front for the logo. To make the logo as accurate as possible, I printed a copy out in the size I wanted and used a pricking tool to mark the icing below the paper to give me a guide. I let down some sugarpaste with water and passed it through a sieve to get it to piping consistency and used a number 1 nozzle to pipe the lettering on the cake.
And it was done! Wish me luck, if you like this tutorial or the cake it would be great if you could head over to instagram and like the below picture of it and I hope you find this tutorial helpful if you ever need to decorate your own DIY sofa cake!







2 Comments
https://www.youtube.com/watch?v=vjvFOG7ZyFY&index=15&list=PLGYb3eTcr5F351zzdh2ZOfzgFyc6XWC5S|https://youtu.be/vjvFOG7ZyFY?list=PLGYb3eTcr5F351zzdh2ZOfzgFyc6XWC5S|https://www.youtube.com/watch?v=vjvFOG7ZyFY&index=15&list=PLGYb3eTcr5F351zzdh
Admiring the time and effort you put into your blog and detailed information you provide.
It’s nice to come across a blog every once in a while that isn’t the same
unwanted rehashed information. Wonderful read!
I’ve bookmarked your site and I’m adding your RSS feeds to my Google account.
Katie
Thanks trying figure out how make clouds for a rocket lol