
DIY Learning Tower | Ikea Bekvam & Odvar Hack
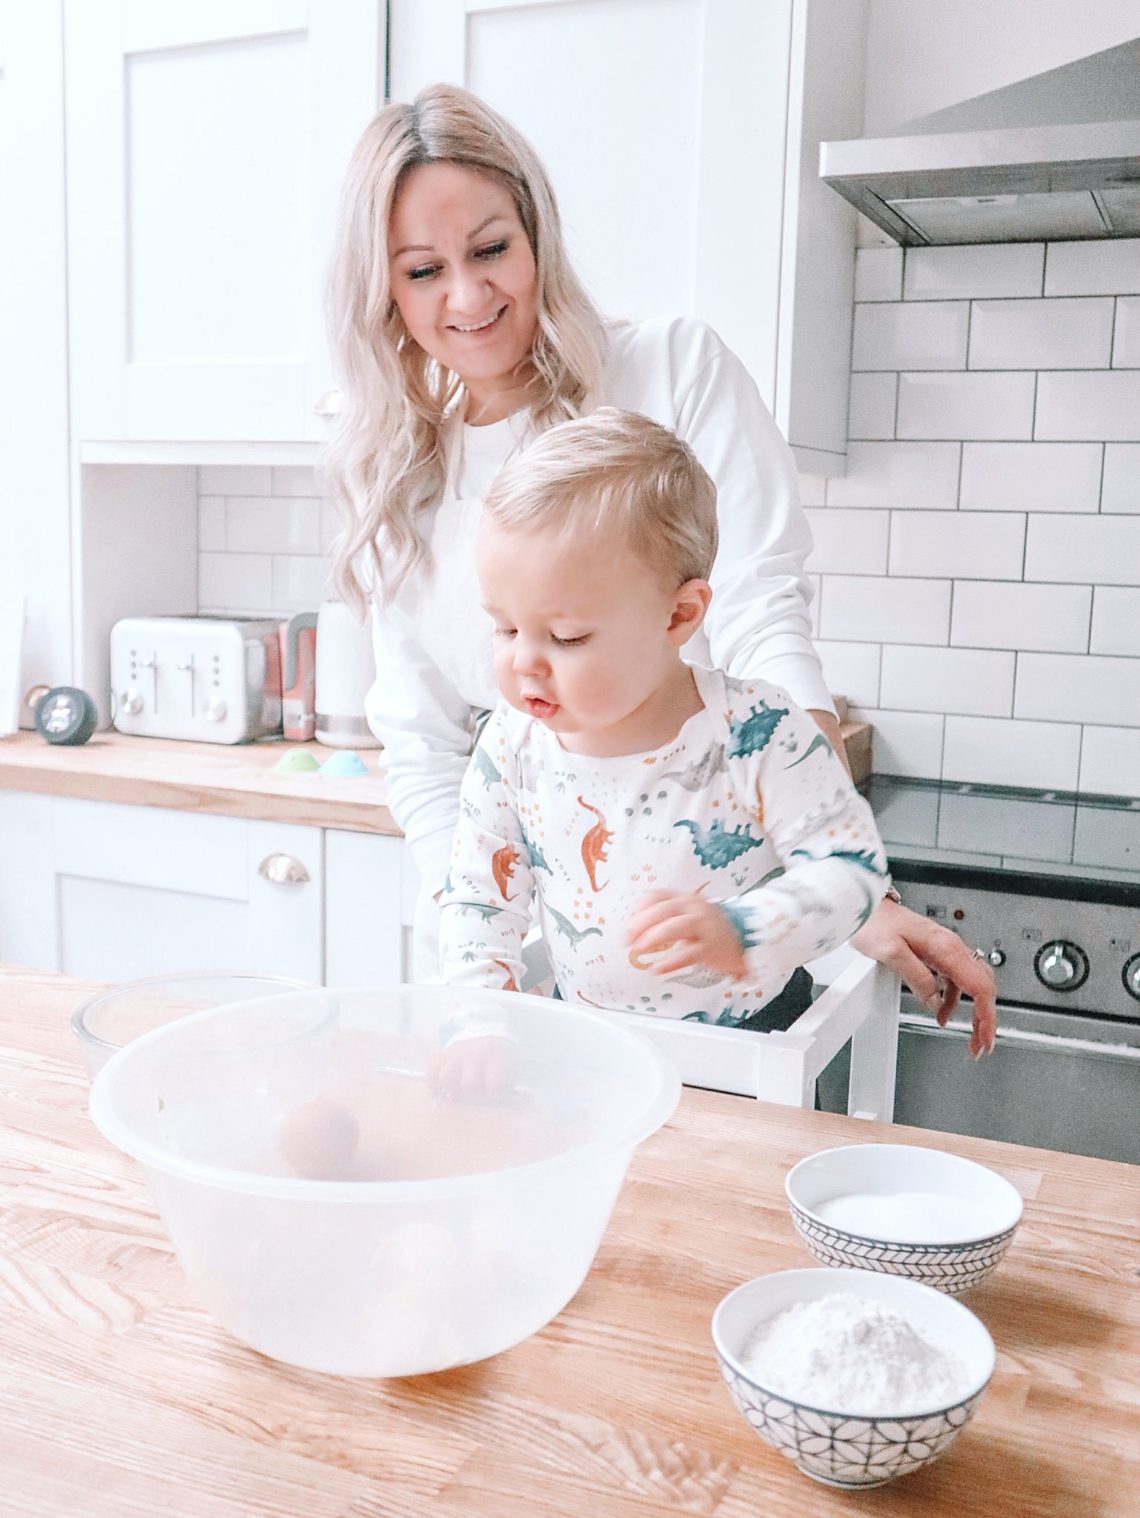
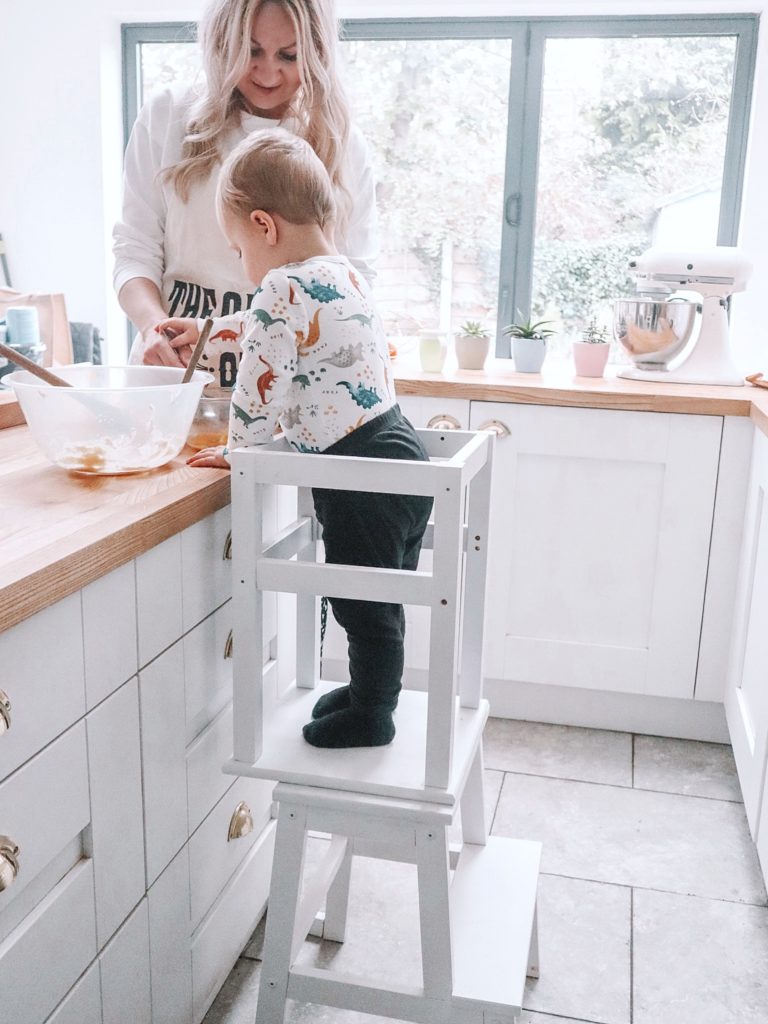
With a DIY learning tower it’s so much easier to get your little one involved in the kitchen! A learning tower is basically a small step ladder with a frame at the top to prevent a child from losing their footing and toppling off. It is incredibly useful, especially if you have a toddler as inquisitive as I do!

You don’t need much to make a DIY learning tower and it’s cheap too! The learning tower consists of two piece of Ikea furniture: the Bekvam stool and the Oddvar table. The stool is £20 and the table is £8. Add in the screws and you can make the whole thing for £28! (If you’re looking to buy a learning tower you can expect to pay £70 upwards!)
You can watch my DIY learning tower vlog below or keep scrolling to read the step-by-step instructions.
To make the learning tower I used:
- Bekvam stool
- Oddvar Table
- 30mm Screws (3mm wide)
- A drill
- A screwdriver
- Rustoleum spray primer
- B&Q White kitchen paint
- Rustoleum Furniture Lacquer – Matte Finish
- First make the table frame of the Oddvar. Make sure to miss out the bottom strut – this leaves an opening for the child to climb up through into the frame. Without this, you’ll have to lift them in and out.
- Now centre the frame on top of the table top and draw round each of the legs. Remove the frame and then mark the centre of where each leg will stand.
- Drill holes through the table top on each mark with a 3mm drill bit
- From the bottom, screw through the table into the legs. I didn’t screw the first three in all the way to make sure that I could get all of them attached evenly. The fourth one can be fully screwed in and then tighten up all the others.
- Now put together the Bekvam as per the instructions but do not attach the top step panel.
- Put the Oddvar on top of the top step of the Bekvam. The front of the step should be flush against one side of the table top and centralised. This means one side will overhang the stool by quite a bit, that’s ok!
- Place two marks on each of the long edges where you’re going to place the screws and drill down through the Oddvar and a little way into the Bekvam. Be careful not to drill all the way through! I used clamps here to secure them to the counter top making sure the areas I would be drilling were overhanging and there was no risk to my worksurfaces!
- Use another drill bit that’s as wide as the screw head to drill into the holes you’ve just made by amount 1 or 2mm. This allows you to completely countersink the screwheads s there are no sharp edges for little feet to get caught on!
- Now put screws into the four holes.
- Flip the frame over and drill four more holes on the shorter edges of the step and screw into place. This might be overkill but it makes it super secure.
- Now you can retrieve your Bekvam frame and attach it as per the instructions to the top step.
- The DIY learning tower is now fully constructed! I followed up with a coat of primer, two coats of white kitchen emulsion (it’s stain resistant and wipeable) and then two coats of furniture lacquer (even more wipeable!)
From start to finish (excluding paint drying time) this would take about an hour. It took me a little longer because I also filmed the YouTube tutorial at the same time but it is SO EASY to do and it’s a really, really valuable bit of kit to have in the kitchen.
Montessori play is such a huge thing these days, the learning tower really helps to empower your child and get them involved in all sorts of interesting and fun activities. Please don’t leave your child unattended in or around the learning tower. Supervised use only!
Let me know what you’ll use a learning tower for with your little one, I’m always on the lookout for extra activities to try!


15 Comments
Rosie
Hi there,
Just wondering did you use extra wood for around the top of the learning tower? Thanks!
Catherine
No it’s just the frame of the table xx
Noemi Harrison
Hi,
I was wondering how you attached the extra bits to the legs of the Bekvam to prevent toppling over?
Thank you!
PS:very very helpful video!!
Catherine
Thank you! I used little metal brackets but to be honest it doesn’t need them, it’s really steady and as long as they’re in front of the counter it’s fine – even if there’s a small gap it never falls over xx
Jerome
I wonder if the support will be high enough for my son, who’s already 90cm tall despite being just 20 months old. How tall was your child on the picture ? Thank you for the great tutorial!
Catherine
Theo’s 93cm now and it still works really well for him. Hope that helps! X
Laura
Where do you drill/screw to attach the two seat pieces?! I’ve got this far and I just can’t work it out from the video or written instructions!
Sally
Hi there,
I’m confused because the ikea oddvar doesn’t come with horizontal bits of wood at the very end of the legs creating that frame with the railing along the top. Did you buy a different oddvar version to the one that is available currently?? As you say, you did not use extra pieces of wood.
Mihail
It is because the ODDVAR is flipped over. The seat is actually attached to the bottom part of the legs. The top part is left as security frame.
Ana
My understanding is that she put together the Oddvar as it is supposed to but then put the top of it (that square ‘lid’) under the feet instead of the top.
Tasha
Love this! Is it the Oddvar stool – https://www.ikea.com/gb/en/p/oddvar-stool-pine-20249330/ or is it a table that they don’t sell anymore?
Phillipa
Thanks so much for this hack. I’ve seen people selling this exact thing on Etsy and I knew I would be able to do it myself, I just needed the right tutorial. Very clear printed instructions and the video helped to. I’m just debating now whether or not to attach the feet but I think we will try it out first. Looking forward to making my second one for upstairs so that our daughter can reach the sink. She’s 14 months now so still a little small for normal steps.
Aarti
This is a brilliant idea, thank you for sharing this. The video is so helpful. Could you share the total height and the step height of the assembled stool please? Thank you
Jackie Warner
Amazing, I have put both items in my ikea basket. Such a super job for a fraction of the cost. Perfect for my grandson. Thank you
Jackie Warner
I have followed your instructions to the letter. Thank you very much for this wonderful hack! I have made it for my two year old grandson. Can I ask did you use kitchen wood paint? Not emulsion? I have also, purchased the furniture lacquer. Thank you Jackie