
DIY Scrunchie Tutorial
I have two problems: I hate elastic hair bands as they always seem to get tangled in my hair and I have ALOT of scraps of fabric that I can’t bear to throw away. Good news is, I’ve discovered the solution to both of these dilemmas and, even better, it’s 90s themed!
I’m not ashamed to say that I really enjoyed the 90s, from the ages of 7 – 17 I had a lovely time, I liked watching Teenage Mutant Hero Turtles (check out my PJs on instagram) and Thundercats, I was a big fan of 5ive and who didn’t love mood rings? I never thought it would happen but the 90s are back – they’re making a new Turtles movie, 5ive are back together (albeit with only three or four of them) and hair accessories are going old school, scrunchies are back on the table!
Simple yet effective (and snag free), the scrunchie is the perfect way to add a little 90s throwback to any outfit and making your own is surprisingly quick and easy which is why I thought I’d share with you my DIY scrunchie tutorial!
To make a scrunchie you need:
Strip of fabric 17″ x 5″
8″ Elastic
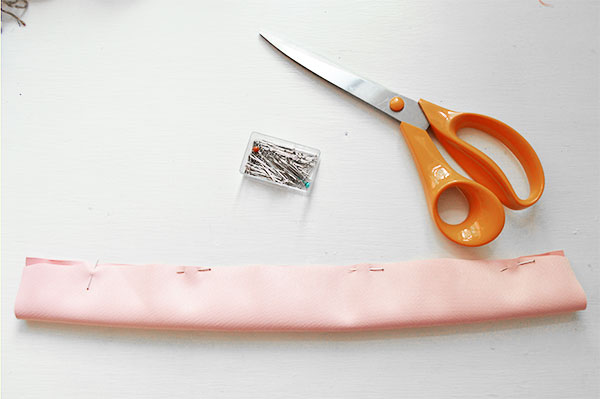
1. Fold your fabric in half along the longest edge with right sides facing and pin.
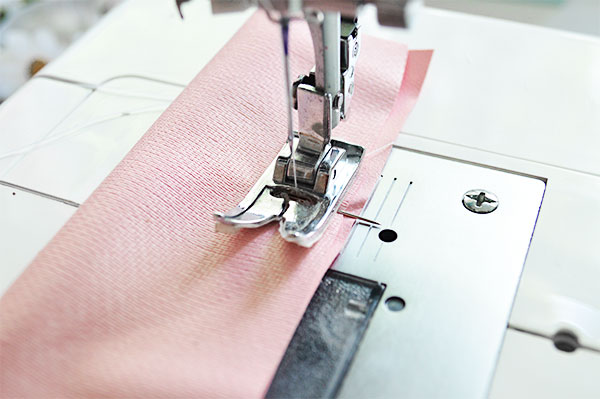
2. Leaving 2″ at either end, stitch on the sewing machine leaving a 1/2″ seam allowance.
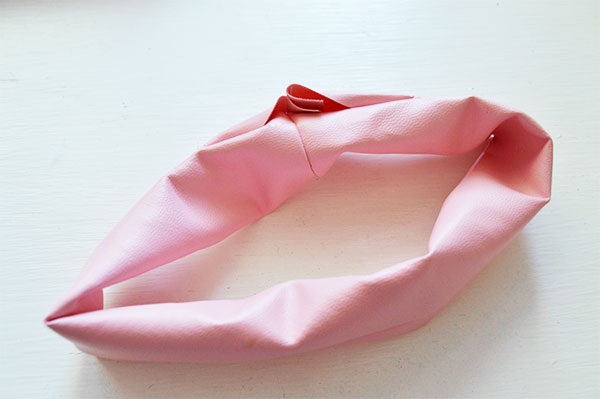
3. Turn the tube right side out.
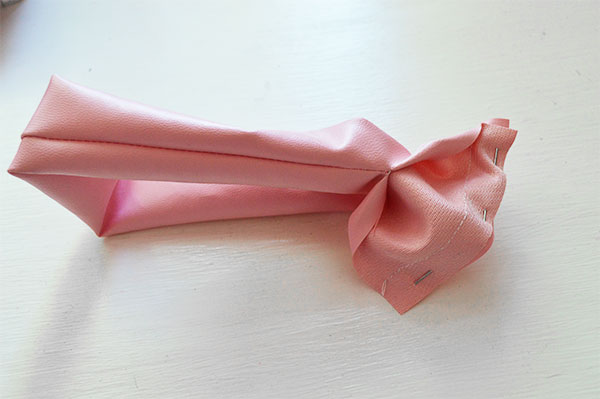
4. With right sides together pin and stitch the open ends together with the sewing machine. The pull outwards so it forms a donut shape and the seam edges tuck themselves in.
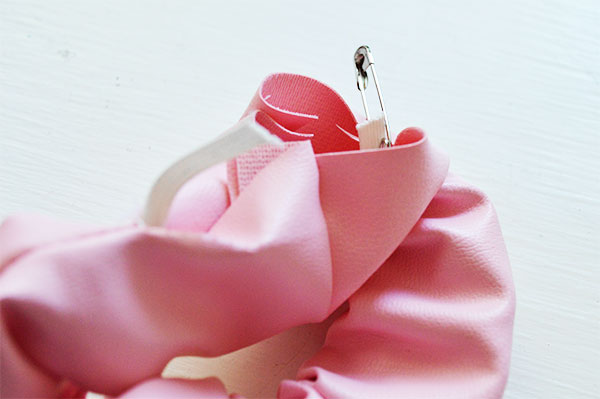
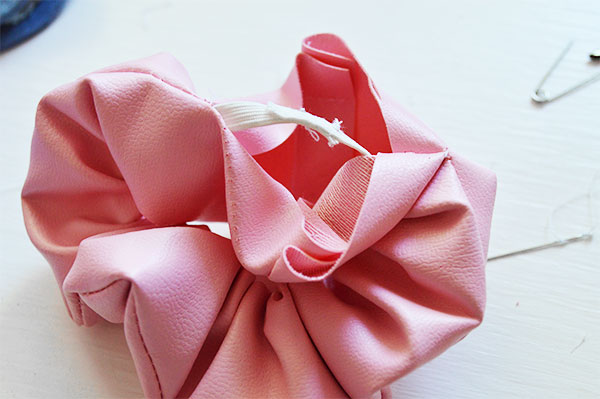
5. Thread the elastic through the tube using either a safety pin or hair grip making sure to keep hold of one end, scrunch up the tube of fabric as you go.
6. Hand stitch the ends of the elastic together overlapping by about 1/2″.
7. Hand stitch the rest of the seam closed.
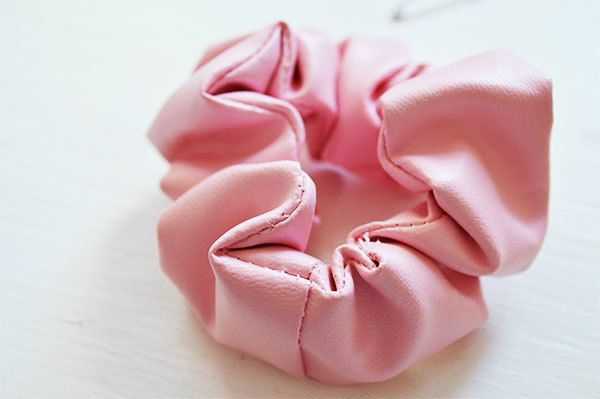
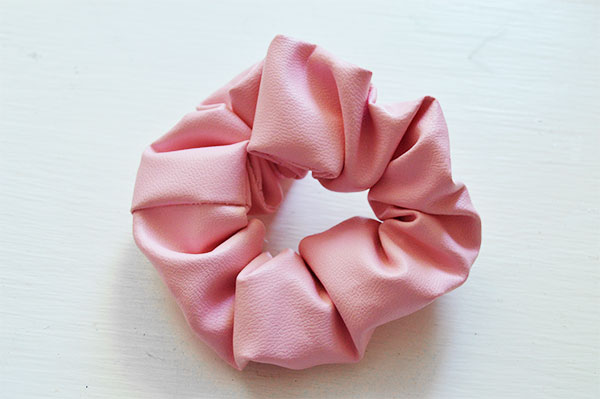
Scrunchie is ready to go! It took me less than half an hour from start to finish to complete this. It’s a great project for yourself or for gifts. I like the difference that the pink leatherette fabric I’ve used here gives to the scrunchie, pretty much any fabric would be suitable for this project which means the possibilities are endless!

4 Comments
tanya
uhhmm can we use a fabric glue instead? (great tutorial tho) 🙂
Catherine
Thanks Tanya – I’m not really sure about glue because the scrunchie gets quite a lot of stress when it’s twisted so it might not hold. You could try it though? Let me know how you get on! x
myrna sosner
I use these as collars for my cats! They are adorable! They need new ones and the ones in the store do not have long enough elastic for their necks. I am glad to see your instructions for making them. The store bought ones are too tight!
Thank you.
Tiffarah
This is awesome! I’m going to make tons of these, but how long is the elastic you used? thank you so much