
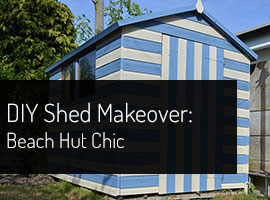
DIY Shed Makeover – Beach Hut Chic
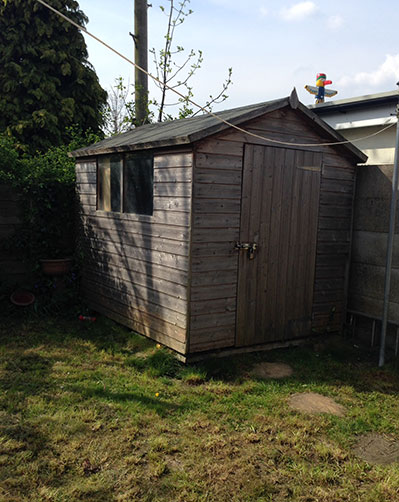
With summer approaching (what little summer we have in Manchester), I’ve finally managed to convince my boyfriend to make a start on the garden. It has been sorely neglected over the last few years and now it’s time to get hold of it and whip it into shape. As I hate gardening, I was happy for Jon to take the lead on the project and his first demand was to do a DIY shed makeover. Not brown or green as you might expect, but like a beach hut! Our shed was fairly sorry looking, weathered and a bit neglected so I was happy to give it an update.
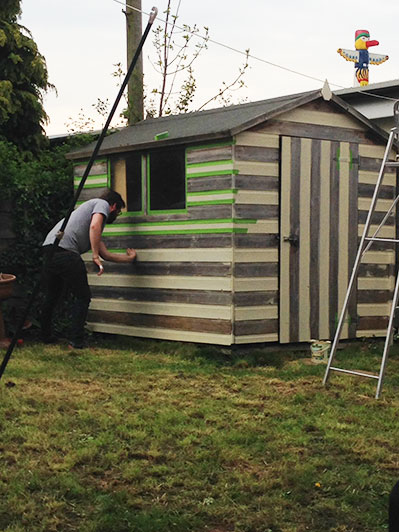
So off we went to B&Q and bought some garden paint – Cuprinol Garden Shades Forget Me Not Blue and Country Cream along with some Duck Tape. It’s important for this to buy proper painter’s masking tape as the normal stuff doesn’t stick well to the wood and you won’t get neat, crisp lines – we used two rolls for two sides of the shed.
1. Being careful paint alternate rows in cream without masking them off. We painted two coats.
2. Mask off the remaining rows and paint in blue. Making sure to keep the window frames and roof sills in alternating colours.
3. Continue the rows of colour over the metal brackets on the door.
4. Once dry, peel off the masking tape and voila!
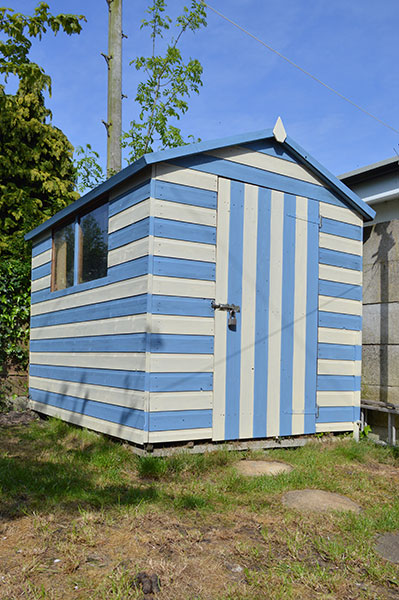
Despite the limited steps involved it is quite a time consuming job, it took about 2 hours from start to finish for the two of us. This is mostly because the first coats are a lot more labour intensive as the paint soaks into the wood and doesn’t cover as much. The second coat is much easier and goes on much quicker. Make sure that it’s not going to rain when you’re doing this, if it starts raining when you’re half way through you may end up with a streaky beach hut!
If you liked this post and it has inspired you with ideas to update your shed please drop me a comment and if you’d like to see more please follow me on Bloglovin’ to get updates of each new post.


3 Comments
Sunnie Mitchell
Quite a transformation, well done you!
Kelly
Hello, I love your work on your shed. It looks fabulous, This is exactly what I want to do with our summerhouse. What size paint tins did you buy?
Catherine
Hi Kelly, thanks for your nice comment! We bought the 1L tins and had loads left (although we did only paint 2 sides!) x