DIY Upcycling An Ikea Wardrobe with Fabric
Furniture ain’t cheap, that’s what I’ve come to learn so when it finally came round to redecorating the spare bedroom I was most definitely on a tight budget. When it comes to furniture though, budget usually means devoid of personality which is a problem so sometimes it takes a little bit of TLC to turn something basic into something special.
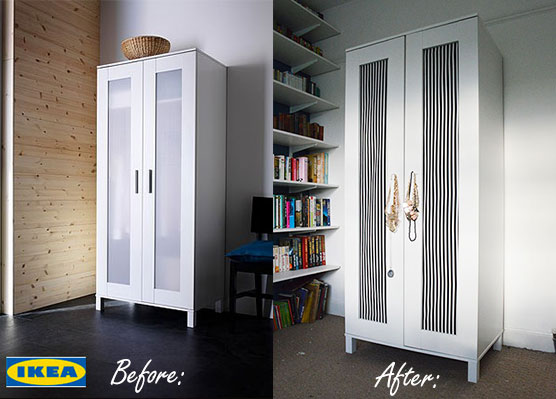
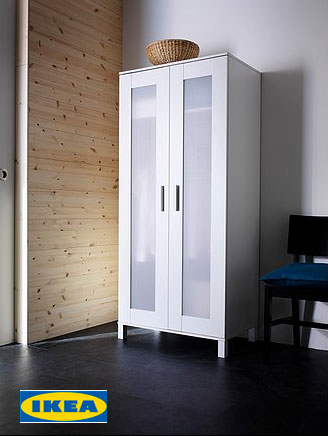
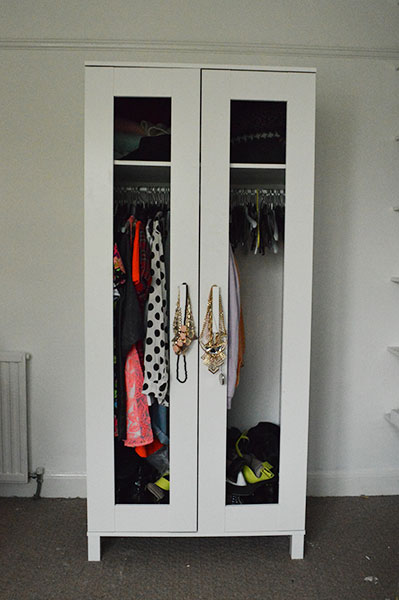
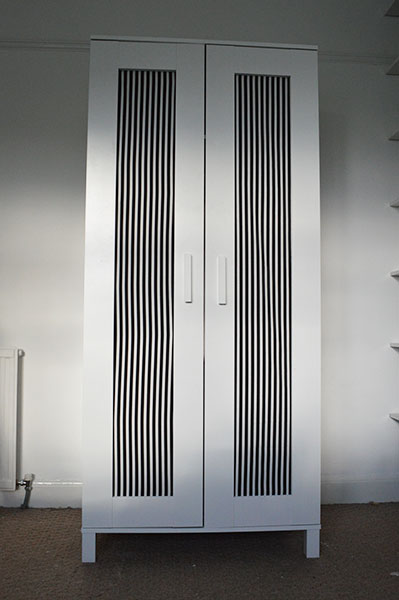
The Aneboda wardrobe from Ikea is £60 (cheap!) and is the stalwart of rented apartments everywhere, I’m not a fan of the semi-transparent plastic though and think that it looks messy when you can see the clothes inside. I came up with the idea of removing the plastic panels and replacing them with fabric making the wardrobe unique and giving it a bit more panache.
You need:
Ikea Aneboda wardrobe
Craft knife
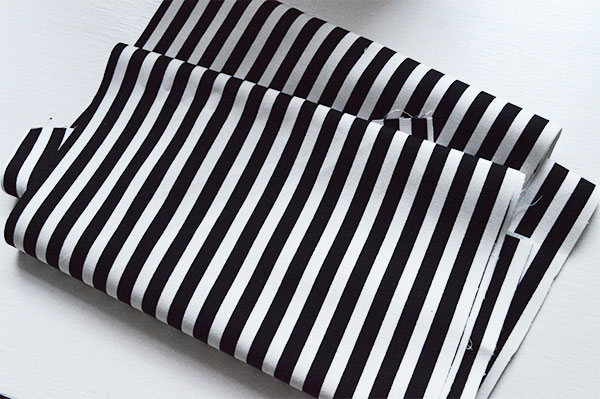
2m Fabric – I used Ikea’s Sofia Fabric (£6 per m)
Staple gun
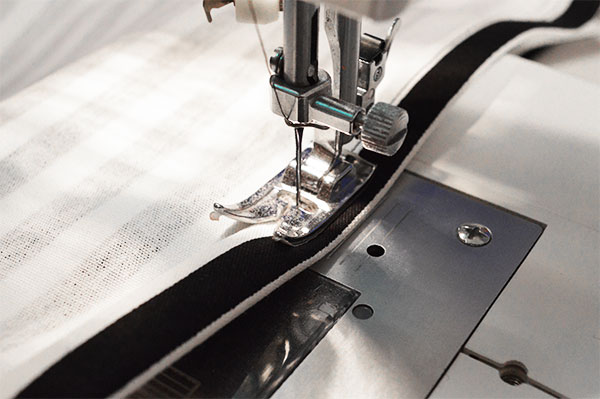
Sewing machine (for hemming)
1. Build the wardrobe as per the instructions in the pack!
2. Use a craft knife to cut through the panel vertically down the centre and across the top of one half. You should now be able to pull the plastic out of the doors.
3. Cut 2 pieces of your chosen fabric to 14″ x 30″.
4. With the wrong side of the fabric facing up fold a 1/2″ hem along one edge and the fold again so that the cut edge is enclosed and pin. It can help to iron the fabric after the first and second fold to keep them in place.
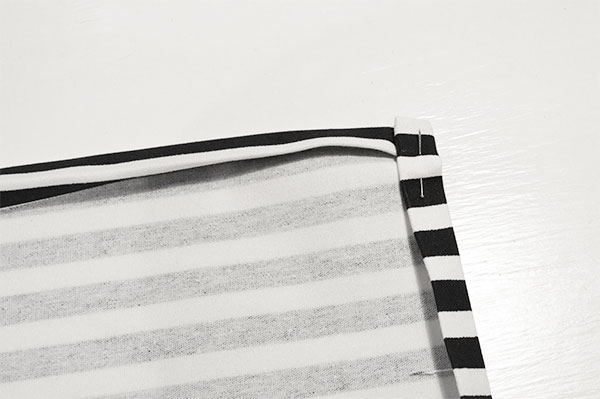
5. Continue to fold the hem in this way for each edge of the fabric and repeat for the other panel.
6. Stitch the hem on sewing machine in one continuous line.
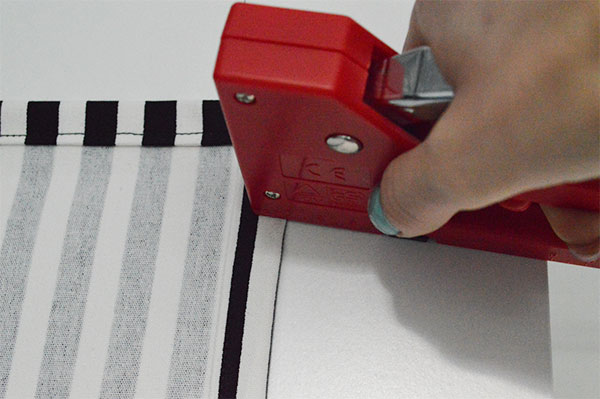
7. Starting at the top of the panel use a staple gun to secure the fabric to the inside of the wardrobe door. As my fabric was stripey it was important to make sure that the fabric was perfectly parallel to the doors. Smooth the fabric as you work your way down the door securing with staples at 2 or 3 intervals and then one at the bottom in the centre.
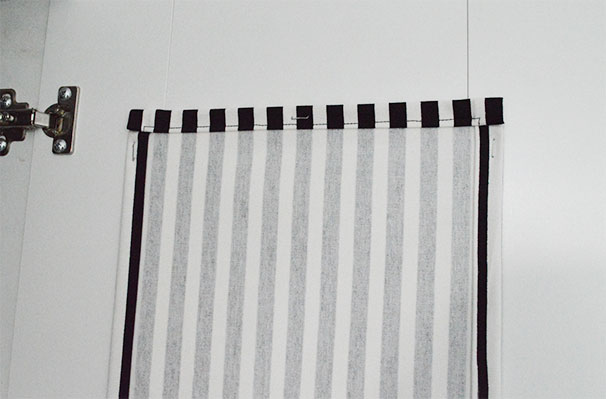
The finished interior:
The fun thing with this is that you can change the panels for new fabric whenever you want and its easy to customise them so they fit with your interior perfectly!
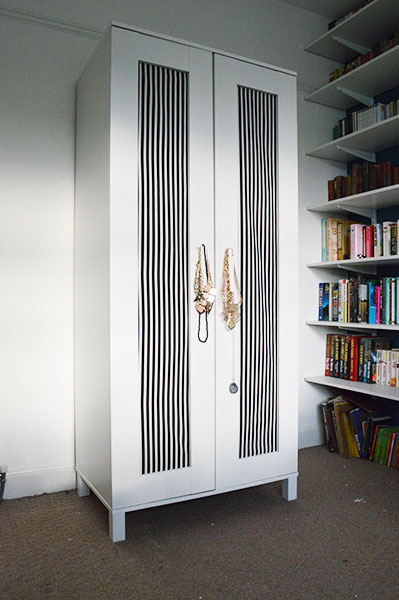
As you can see from the below I like to get extra my money’s worth out of the wardrobe by using it as a jewellery stand!

You May Also Like
DIY Christmas Tree Decorations from Salt Dough
Renovation Sensation – Upcycling an Ottoman