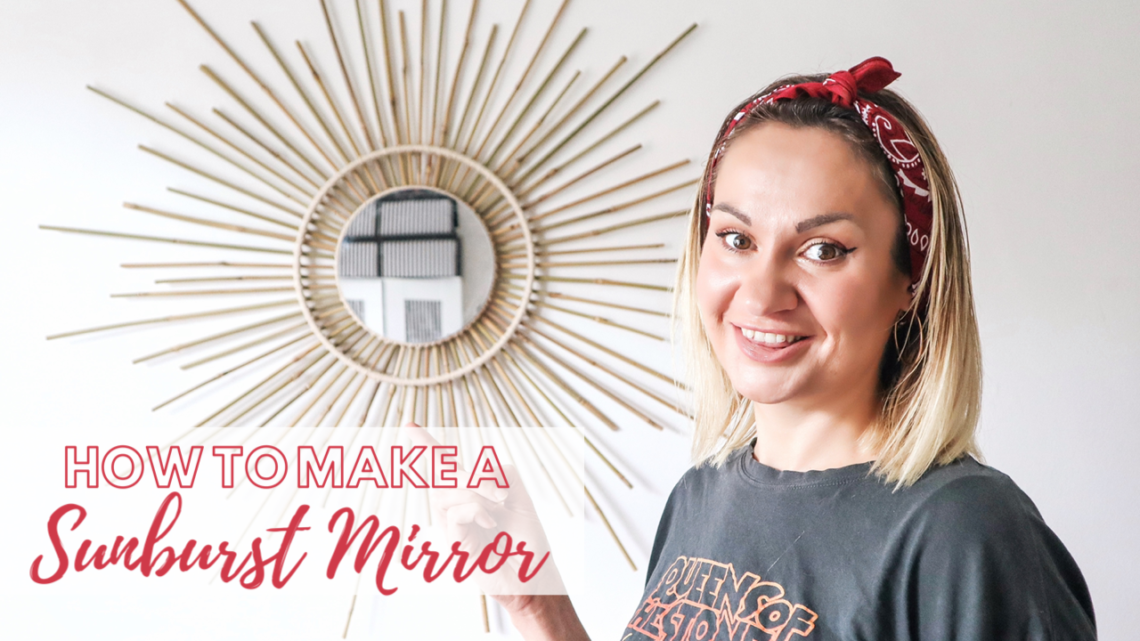
How to Make A Sunburst Mirror | DIY Mirror Tutorial
Sunburst mirrors make a huge statement and look great in a scandi inspired interior (which you know I love!). I’d seen a couple around and decided that I’d try and figure out how to make a sunburst mirror for myself! It turned out to be really easy!
If you’d prefer to watch this tutorial rather than read it, you can watch it on my YouTube channel via the thumbnail below.

For this tutorial you will need:
- 20cm Mirror*
- Garden Canes* ( cut to 16 x 40cm, 32 x 30cm, 16 x 25cm)
- Wooden Hoops (1 x 20cm, 1 x 30cm)
- Glue gun*
- White string*
- Superglue or UHU
- Tape
(*These links are affiliate links so I earn a small commission on any purchases you make which helps me fund future DIY tutorials)
Tip: Make sure to cover your work surface to protect it from hot glue drips, I used a sheet of cardboard.
- The first step in making your sunburst mirror is to cut all the garden canes to size. The easiest was to do this would be to use an electric saw or a circular saw attachment on the end of a drill. Unfortunately for me, our drill has gone missing, so I cut them all using a hacksaw. It takes a bit longer but is still really easy.
- Run a length of string around the outside of each hoop and cut to size, this gives you the circumference of the circle and is the easiest way to mark out where you’ll be placing the canes.
- Mark out 3.9cm intervals across the shorter piece of string and and 5.9cm intervals on the larger piece.
- Use some table to attach the string to the outside of the hoops and transfer the marks to the hoop. Now you can remove the string.
- Use some masking or parcel tape to secure the 20cm hoop to your work surface and then secure the 30cm hoop around it making sure that the spacing between the two is even. This step is super important as it stops the hoops from shifting around as you glue the canes down.
- Starting with the 40cm canes place a blob of glue on the inner and outer rings where you have marked and press the cane down for 30 seconds until the glue sets. Allow the end of the cane to overhang the inner hoop by 1cm. Repeat for the rest of the 40cm canes.
- Now take the 25cm canes (shortest) and position these in the centre of the 40cm canes in the same way.
- You can now fill each gap between the long and short canes with a 30cm cane.
- Carefully lift the mirror from your work surface and turn it over – if there are any glue drips you may need to use a knife to clear it from the table and clean up the mirror a little.
- I decided not to paint my mirror because I really liked the natural tones of the canes with the string but if you wanted to paint yours, this would be where you’d do it (unless you wanted to paint the string too, then do it before step 13.)
- Take a length of string about 1m long. Use a blob of glue to secure the end underneath the hoop. Once the glue has dried wrap the string around the hoop continuously. Make a cross back and forth over each cane. This helps the stability of the mirror so it isn’t just held together with hot glue. You can watch my YouTube tutorial on how to make a sunburst mirror here to see exactly how I wrapped the string.
- As you get to the end of the string secure it to the underside of the frame with a dab of glue ensuring it is wrapped tightly. Start a new piece of string in exactly the same way. Continue until you have wrapped both rings.
- Use superglue or UHU glue to secure the mirror to the inner hoop. Run the glue round the edge at the back of the mirror and flip over and press down onto the string wrapping ensuring you have it centrally positioned. Hot glue is no good here because it dries before you can get all the way round the edge of the mirror! (I learned this the hard way!)
- Leave the glue to dry and then you’re ready to remove the protective plastic on your mirror and hang it in pride of place on your wall!
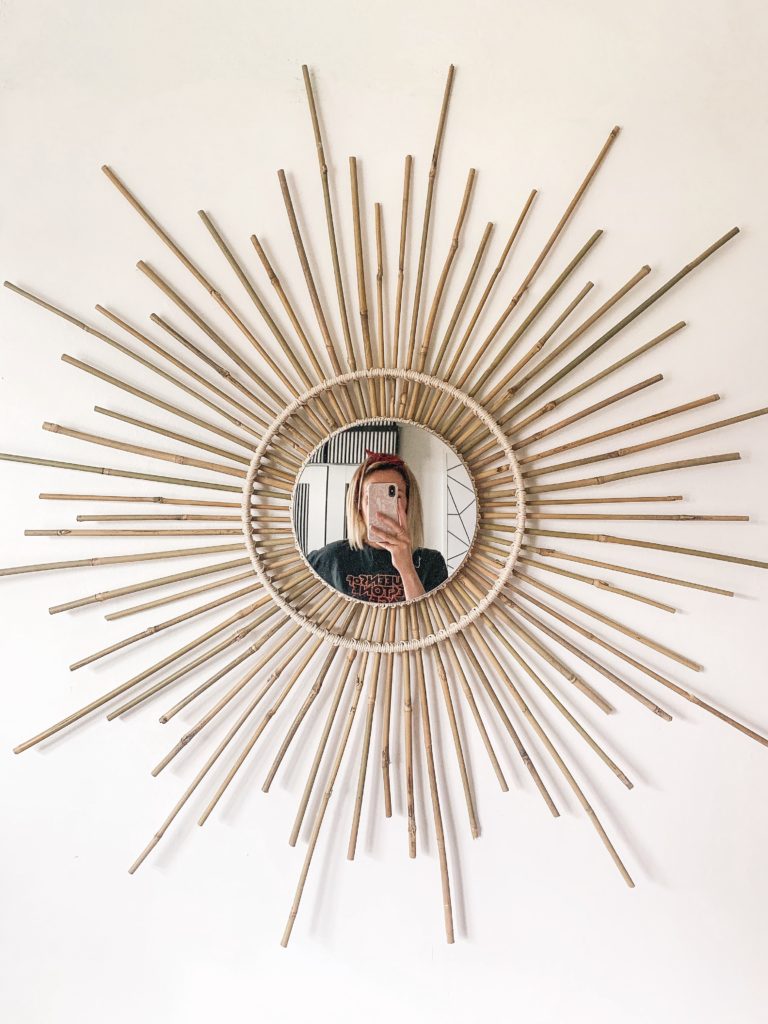
There you have it, a beautiful sunburst mirror that looks absolutely stunning on your wall! It’s a real show piece and unbelievably costs less than £20 to make!

You May Also Like

Valentine’s Day Cupcake Decoration Ideas
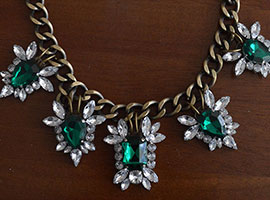
Wander and Hunt DIY Statement Gem Necklace Kit