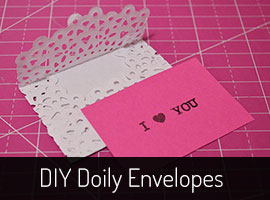
DIY Doily Envelopes: Things To Do With Doilies #4
I think this is my favourite use for my doily die that I’ve found so far, miniature doily envelopes. They’re super cute and can form part of a number of awesome craft projects – even better they’re really easy to make.
To make DIY doily envelopes you need:
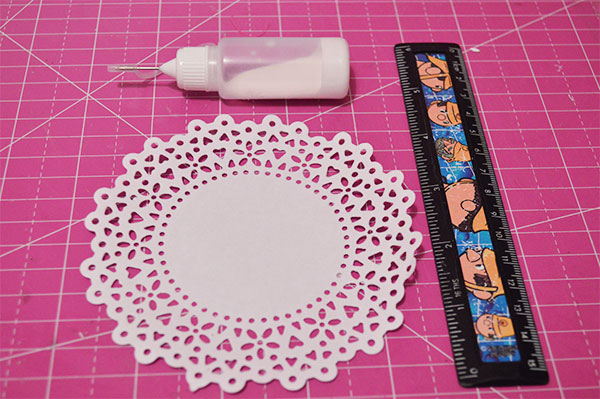
A doily (I made mine with the DoCrafts Doily Die)
Paper glue
A ruler (Trumpton design optional)
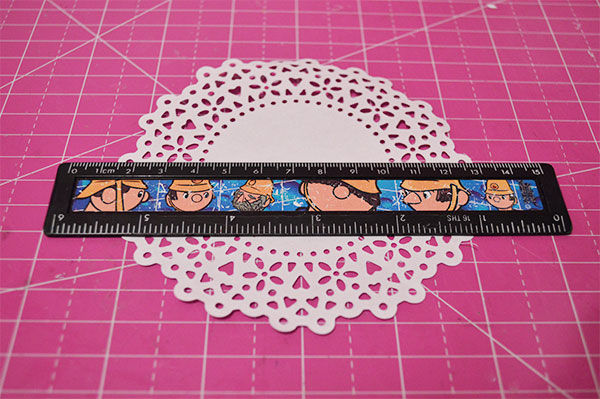
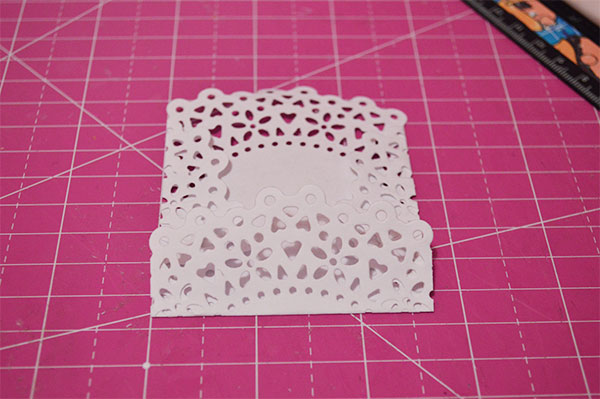
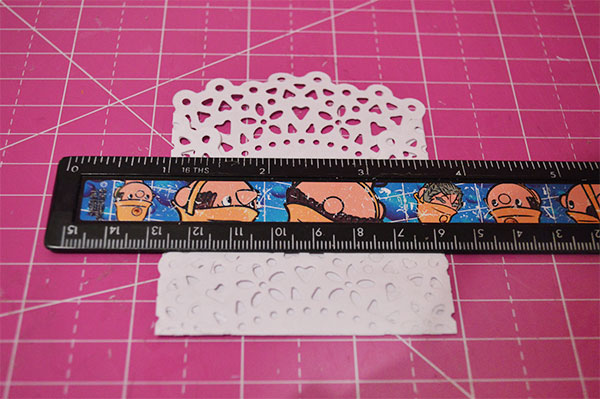
1. Fold the sides of the doily towards the centre, use the ruler to keep the fold straight and even.
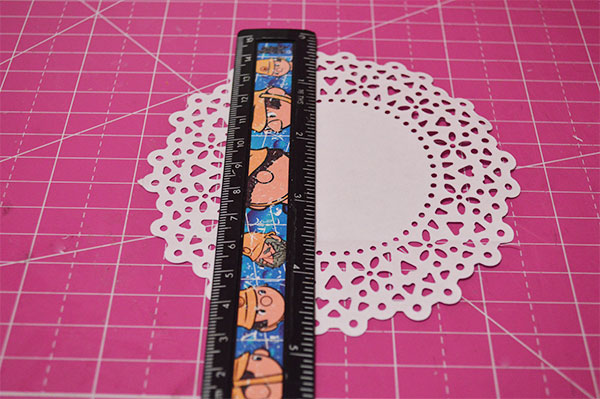
2. Fold up the bottom of the doily so it overlaps the two sides.
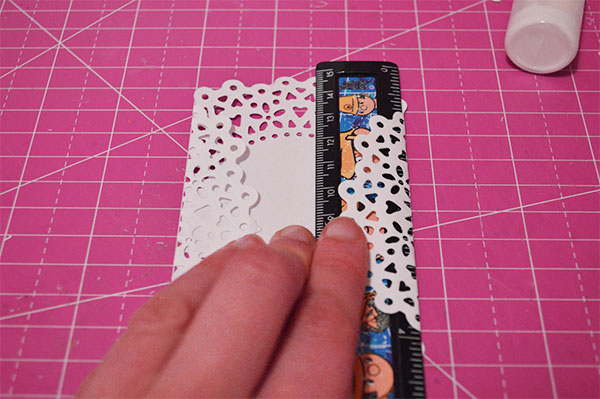
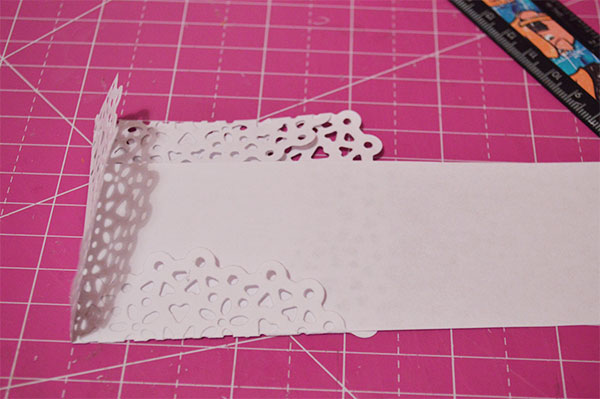
3. Place a strip of scrap paper inside the newly formed envelope to catch any escaping glue.
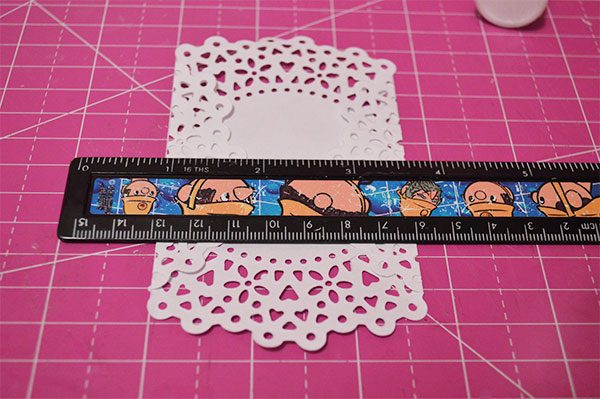
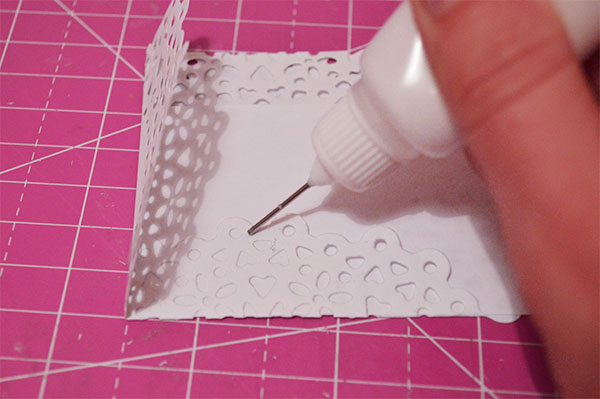
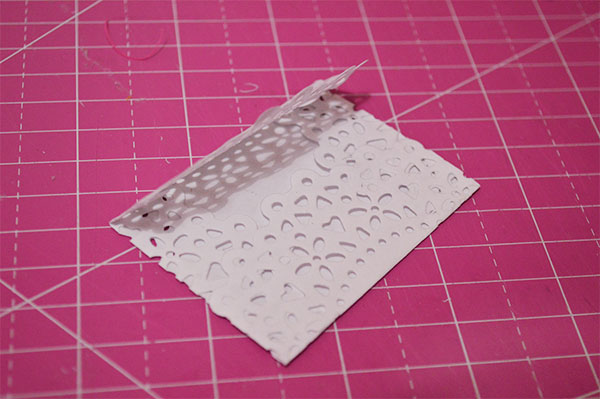
4. Now add a few dots of glue on to the sides of the envelope and press the fold from the bottom down firmly. After a few seconds draw out the strip of scrap paper and leave to dry for a couple of minutes.
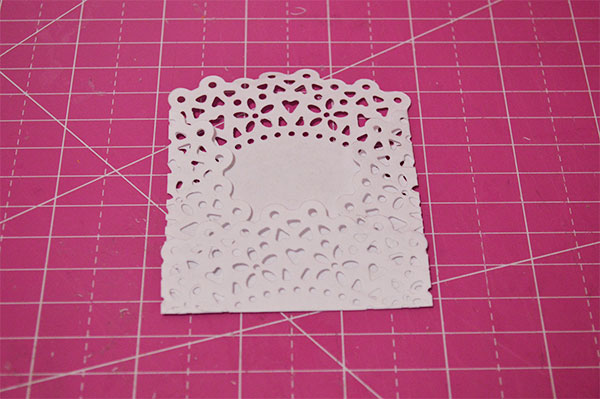
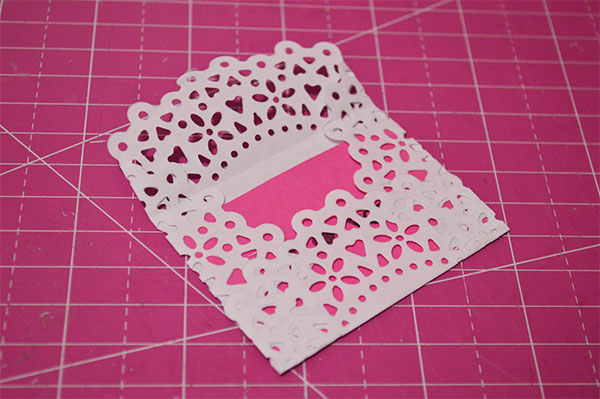
5. Fold the top edge down to slighly overlap the bottom and your envelope is all done.
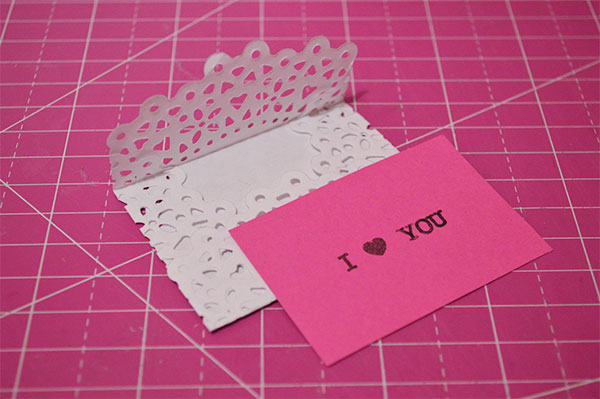
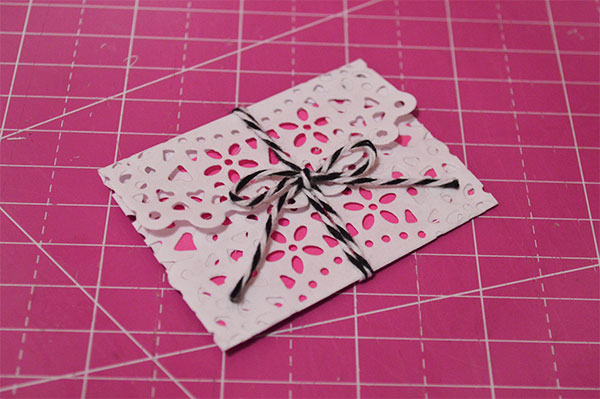
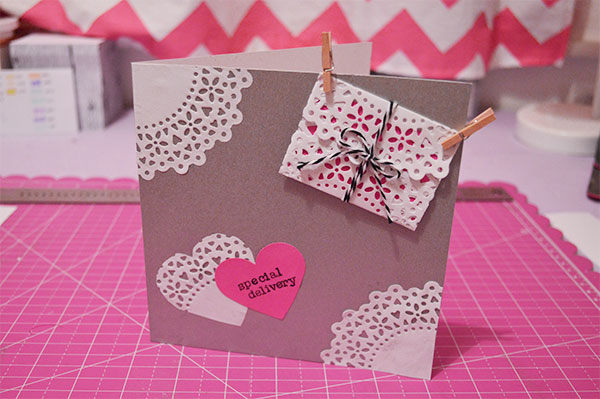
For this envelope, I cut a piece of card to fit inside and then hand stamped it with a message. I secured the envelope with some baker’s twine and pegged it to the front of a card that I used more doilies to decorate.
You could also seal your diy doily envelopes with stickers, strips of coloured or patterned washi tape or with dots of glue. The beauty of the doily die means that no pattern or colour is unavailable for a doily envelope, the only drawback is that because the doily die is small, it only produces miniature envelopes – if you’d like to make bigger envelopes you may need to buy a pack of doilies (or buy a bigger die!).

You May Also Like
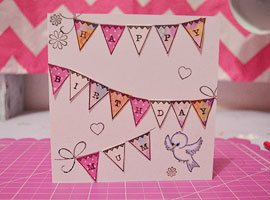
Things To Do With Doilies #1: DIY Handstamped Doily Bunting
Testing Testing 123: Do Crafts Carnival Alphabet Stamps